Leaderboard
Popular Content
Showing content with the highest reputation on 04/05/2020 in all areas
-
Let me break tradition by giving an introduction. My hometown, Edmond OK, was named for railroad man the worked A,T&SF rail line before statehood. It's my understanding that we're at 1200 ft elevation the steepest point on the line between Kansas City and Houston. This mural displays a little of the town history. At the top center "Old North Tower" at the Univ of Central OK. I actually went to kindergarten in the blg, my sons got degrees there. The brownstone building on right bottom is the old Citizens' National Bank. When I was about 10 year old, riding in the school bus, I saw cops running towards the building during a bank robbery. The RR station is long gone. I remember as a child hearing trains and banging all night long as the RR crew "switched" train cars from train to train. Edmond was also the town where the famous east-west Rt 66 crosses north-south Rt 77. Hwy 77 runs from Mexico to Canada. Truly the American crossroads. This photo is taken a block south of the intersection.5 points
-
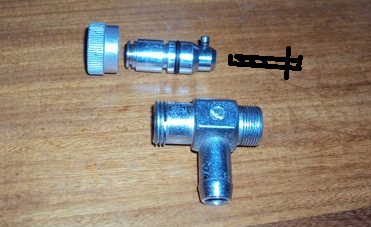
Some of you may be aware of my ongoing frustration with these things. Briefly I've had one that refused to close off and another that has leaked when in the open position. Time to investigate. I suspected that the issue was junk seals and it turned out I was correct. I carefully removed the crimped section of the aluminium operating knob so I could screw it off the body and remove the internal plunger. The seals were toast which was causing the leaking in the open position. Bearing in mind that this thing gets used once in a blue moon the seals shouldn't have an issue really. So seals removed measured up and left in fuel overnight. I also tested a seal from an elcheapo kit I bought at the local Aldi store for comparison. No idea what the Aldi seal is made of but it was almost an identical size to the original. The first image shows the two seals after 24 hours in fuel ( the originals hadn't seen fuel for a week or so) As you can see the original has swelled a lot, around 1 mm in dia. So if your manual tap is difficult to open and shut and needs pliers to do so here's your reason. Garbage non fuel compatible seals. My cheap control seal is fine and hasn't swelled at all. This sort of thing drives me nuts, to save pennies they use rubbish seals and to compound the issue they aren't replaceable.......until now,hopefully. The difference in the seal sizes is quite obvious after 24 hrs in fuel. So what we need is Viton or FKM seals which I suspect will need to be 10 mm ID X 2.4 mm CS. I'll confirm this soon. The problem is what to do now with the the tap and its lack of open stop since we have removed the crimped section from the knurled nut. The issue for me is the lack of equipment. I've got plenty of nice ideas but dont have a mill which would allow me to do it properly. What I came up with is in the following image. I drilled and tapped the plunger for a 4 mm grub screw that can be inserted into its hole through the tap outlet. This grub screw when installed now forms the down stop for the plunger internally by it striking the inner bottom edge of the outlet hole replacing the crimped section of the aluminium knurled nut. The only issue I had was that I drilled and tapped the plunger hole about 1 mm too high which caused issues when the tap was closed. I resolved this by opening up the throat of the outlet port up near the closed seal face. Downside? a reduction in outlet area but i doubt it would be an issue as the inlet and filter screen are smaller than the tap outlet spigot ID.Next time I'd drill and tap a 6mm access hole on the tap body opposite the outlet port and make the 4mm hole in the plunger all the way through. I'd then have a 4mm stainless grub screw with the stop end turned down to 2 mm and it would be accessed through the 6 mm body screw from the opposite side. This would be much neater and minimise the loss of outlet area. The 6 mm access screw hole would need to be sealed with some thread sealer but the tap could be easily pulled apart for seal replacement and servicing.Note here only 1 seal is fitted to the plunger. I give this idea to the greater Guzzi community and forego retiring in luxury on the Caribbean on the obvious fiscal benefits I could derive from patenting etc. Ciao4 points
-
3 points
-
Our Driver Vehicle Licencing Authority are up to all sorts of tricks, folk send off their driving licence for an update, address change etc and find they have cancelled their bike licence, takes weeks and you have to prove you really did pass the test twenty years before, hopefully you kept a photocopy. Take the annual road tax for a motorhome/RV. Under 3500Kg it is around £265, yet for a motorhome over 3500Kg it is around £165. I suppose their logic is heavy vehicles do less damage to the road! Or the guy who runs the DVLA has a heavy motorhome.3 points
-
3 points
-
Hi Peeps, I recently replaced my Reaction Arm Bushes. Unfortunately I had to get 5 pairs manufactured. I have two pairs up for sale; https://www.ebay.co.uk/itm/293536661066 Not cheap I know, but just passing on my costs for the surplus. The reaction arms are not longer available and this is still cheaper than many second hand offerings our there. I have fitted them to my bike and abused them on a couple of track days + 200 on the road. No issues and another UK owner running them as not reported back any issues. Cheers Kevin2 points
-
2 points
-
These are now sold and shipped. Thanks to all who enquired and Newell who bought them.1 point
-
1 point
-
Well Docc, Edmond has a few murals. The is "Dali in the Alley". No words until now. My dad, he was 18 when I was born, worked across the alley as a meter reader and service tech for the gas company. The company's office has moved out.1 point
-
I recently fitted my first non-Pirelli to that Sport (rear): Battlax Sport Touring T31R. So far, so good. I've long been fond saying, "If I don't like it, it'll be gone soon anyway." Very interesting the classic style of the BT46 . . .1 point
-
Interesting, not available in the US. They want to squeeze us for every penny they can. Sorry to hear your V11 is SORN but at least there's a bright side in the pocketbook. Hope you can return to the road as soon as this virus is past.1 point
-
Good idea for a repair. My tap needs polygrips to open or close it, so your scheme might be on the horizon. Do you want some DuPont Krytox grease to use when you assemble the tap? I can send a squeeze over to you.1 point
-
1 point
-
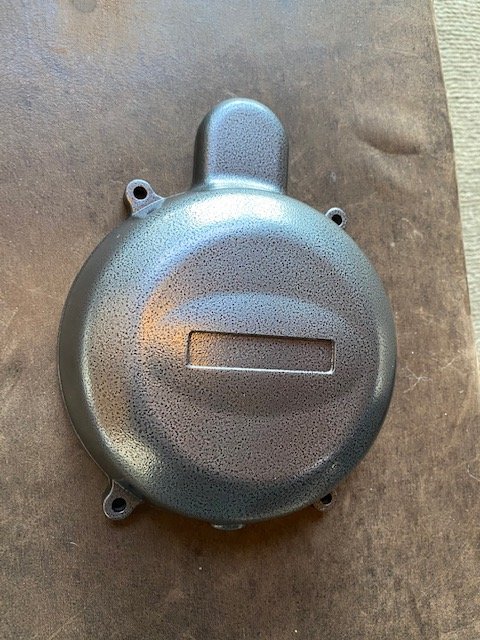
Hammerite is a good rattle can product, and that’s the right name. This though is a powder coat, and I don’t recall what he called it. I can find out. He does some neat custom stuff, but this seemed a good match, without getting too wild. Two coats for the oven after bead blast, and should hold up better than a good rattle can job.1 point
-
1 point
-
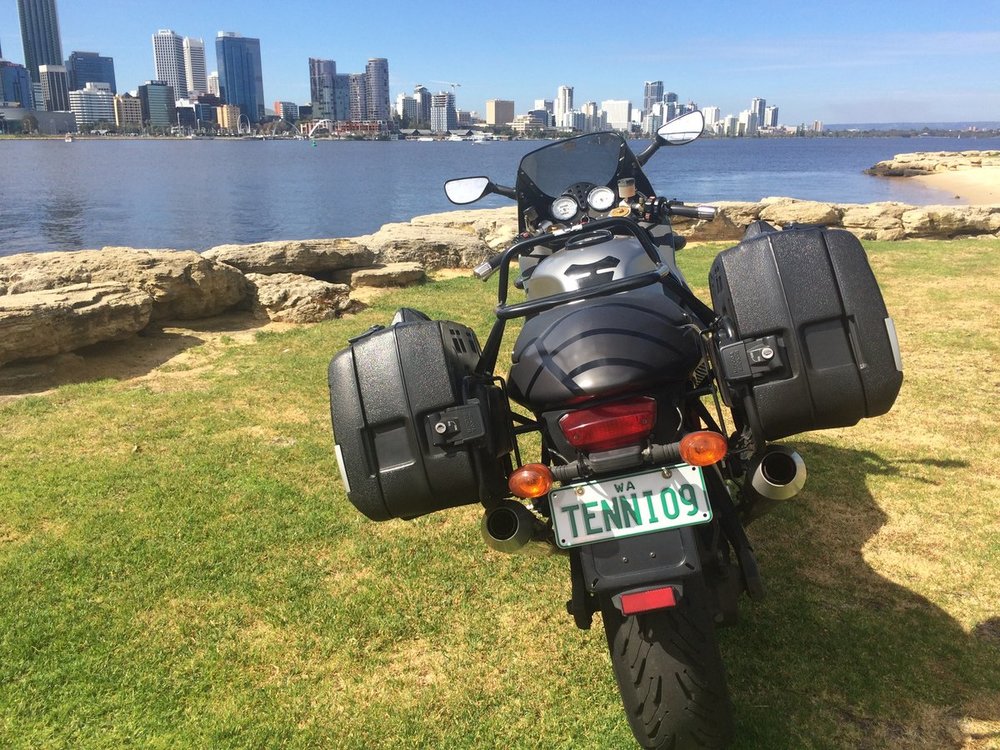
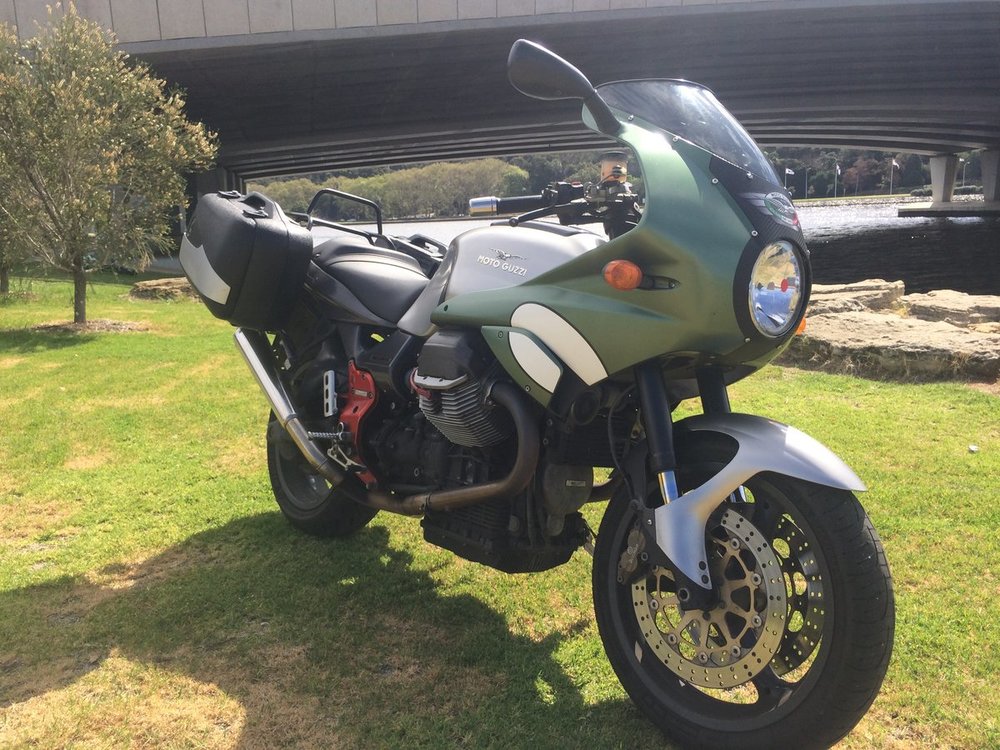
Hi all, number 221 resides in Mildura Australia , recently purchased from Perth . I can't seem to attach a photo atm. It's saying my photo is too many MBs . Any advice would be appreciated.🙂1 point
-
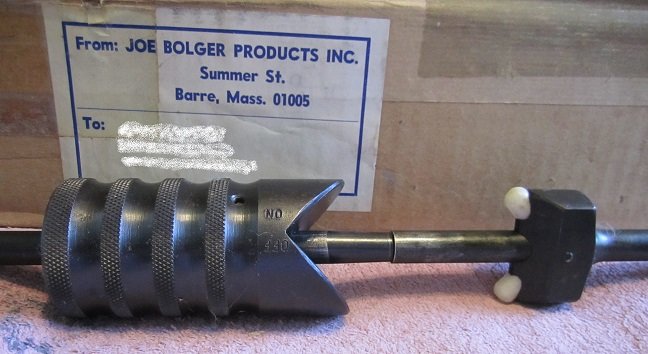
Here's a closer shot of the critical parts (not showing the typical T-handle and bit holder on opposite ends). I'm quite limited on the size of pictures I can post here, so this is the best I can do after shrinking the frame, and hence the rather small pics earlier. Shown also is the original mailing box, but I don't still have the receipt, alas. Now that I think of it, the tool may have cost closer to $75, but I'm just guessing now, it was a long time ago in a galaxy far, far away. Note, I corrected a misstatement in my post above. "Depending on how far the sliding hammer is rotated with respect to the Delrin buttons, the tool may be used to either tighten or loosen screws or bolts" should instead read "Depending on which way the sliding hammer is rotated with respect to the Delrin buttons, the tool may be used to either tighten or loosen screws or bolts." Of course, only an idiot would use an impact driver to tighten a fastener, it is generally useful only for loosening. Some specialized bits to cut new slots in buggered screw heads were supposed to be included with the tool, but Joe was out of them when he sent my example, and I never did get them. Too bad, they would have been useful in a few cases.1 point
-
1 point
-
Colder ... Warmer ... And we have a winner! It is indeed a specialized impact driver. Depending on which way the sliding hammer is rotated with respect to the Delrin buttons, the tool may be used to either tighten or loosen screws or bolts. The degree of rotation will vary how much force is delivered to seat the screw or bolt and how much is applied as a torque. Once loosened, a fastener could then be unscrewed with the T-handle wrench. It was made about fifty years by Joe Bolger of Barre, Mass. I think it was about $50, a fair piece of change back then. What a "serious" rider would have in his kit, along with his safety wire twisting tool.1 point
-
1 point
-
1 point
-
Here are the tools I generally use: A bit more seriously, as I was going through my old tools, I came up with this one. Anyone wish to identify what it is? Bonus points for naming the maker and approximate year of manufacture. Double bonus points for explaining why this tool was intended as an improvement over its more usual competitors.1 point
-
1 point
-
That magnificent "grandfather's mechanical tachometer", in a velvet lined box, is a hard act to follow! I had some good fun digging around through funky, old kit smelling of ancient oils and burnished wood handles ( I already said my people were carpenters). I selected a smattering of inherited, acquired, or otherwise brought to hand, hand-tools put to use over my un(mis?)guided course of wrenching (and beating upon) on various mechanical nemeses, Sirens, and pure delights.1 point
-
OK, I took the bike out today and it shifted great, almost like butta. Only had one missed shift which is better than normal. I was out taking photos and one time the dang starter would kick, I shook it and wound right up. <duh> So whatever un-indexed in the tranny is now re-indexed (for now). It was a little bit cooler day but I still wound it up daring it to miss a shift and nothin' but good. The poor bike is due a once over, valve adjustment and a fluid change. We'll see what's up.0 points


