Leaderboard
Popular Content
Showing content with the highest reputation on 01/23/2023 in all areas
-
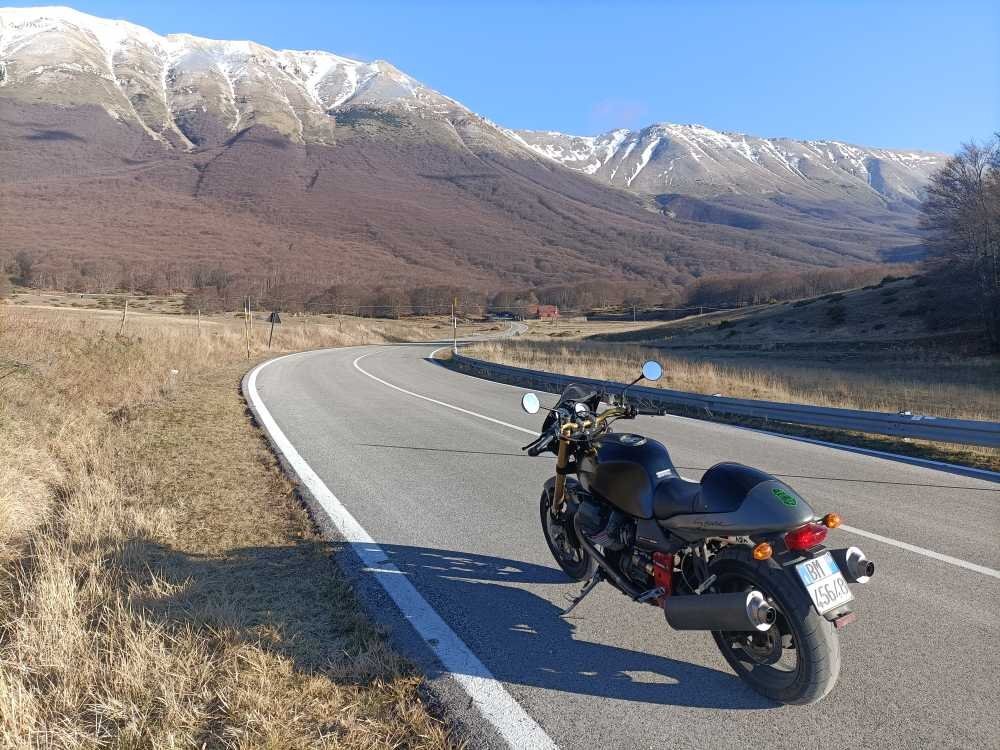
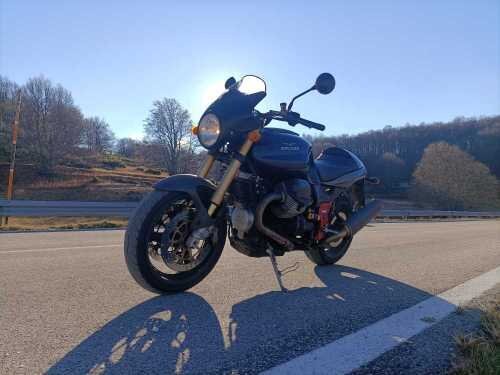
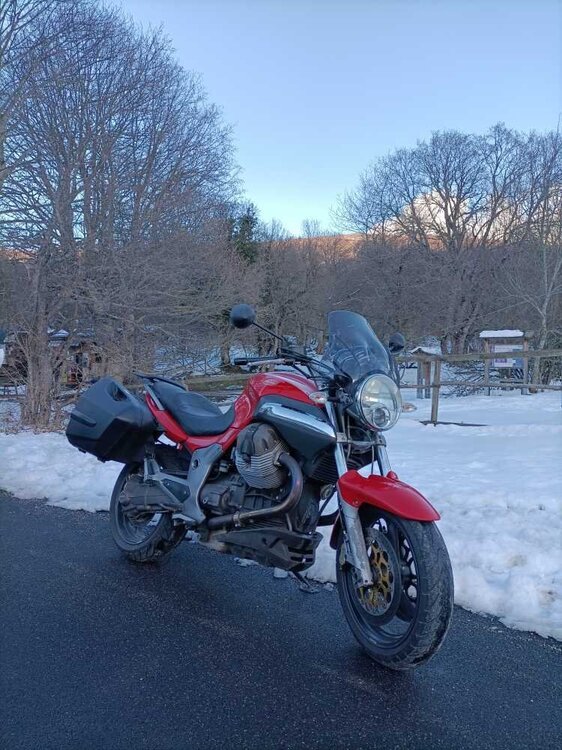
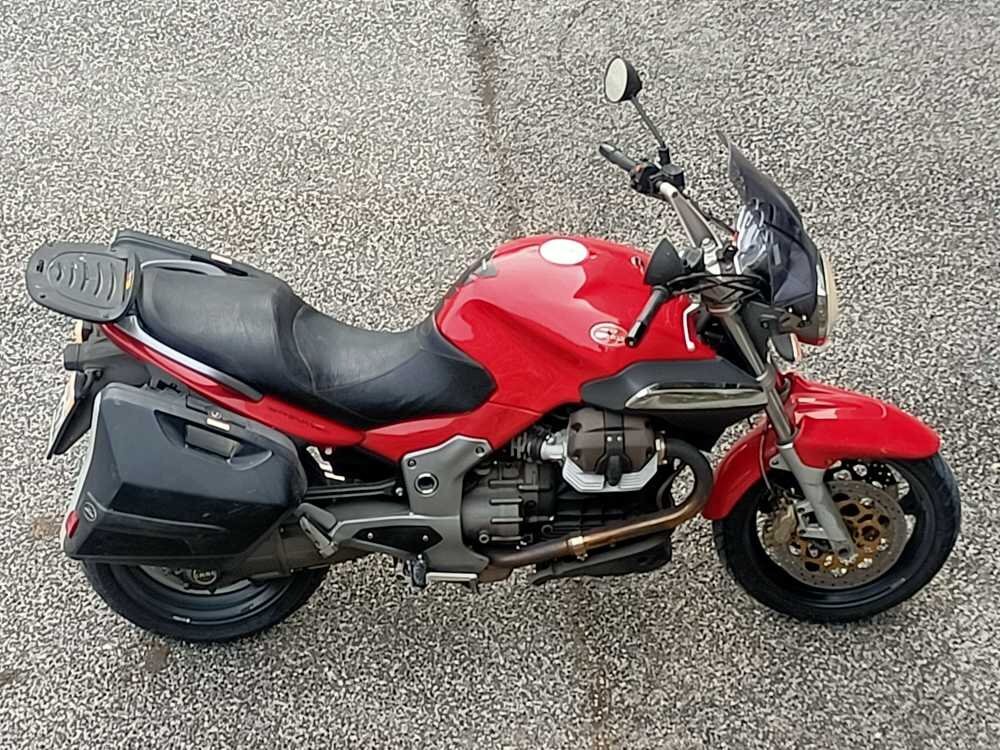
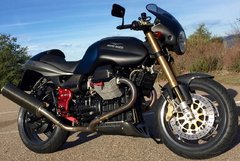
Hi guys! How are you? Things have definitely improved but not everything, as we can see. My Guzzis, driven by the V11, are doing great and are always growing in Number 🙂 ... The V11 Scura, after about 85,000km, begins to show some ailments but nothing irreparable. As soon as I can, I change the gear clip, restore the front fork and replace a front disc (which has gotten into play...)... In the meantime I've found another girlfriend, a redheaded milf 😅 that a friend wanted to give me with only 57,000km. The coming season will see me circulating with many Moto Guzzis, one more beautiful than the other, always hoping to meet along the way!4 points
-
3 points
-
3 points
-
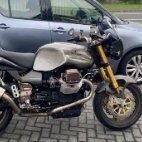
$350 seems about right if it includes labor to remove, clean, and reinstall with new gaskets. But it's too much for a trip to the powder-coater with clean parts in hand. Anyways, it's obvious that the owner(s) cared about the bike. Nice set of Mistrals, the repaint seems good. I'd probably want the stock airbox back on. You could definitely spend $5,000 elsewhere and get a lot less for you money.2 points
-
if you can't say anything good then don't say anything ... so I'm saying nothing I wish him the best2 points
-
80CX: Got it now, I fully understand what you're referencing now. Ok, no issues on this side, it's got about 1/2 inch of thread going into the black threaded cup...all good there! I figured it was just as easy to spin the rod off, even took advantage to put a little white grease into the threaded plastic cup to make it a bit easier to turn. Luckily I know this whole cough is related to the TPS setting, since the bike was running great after I had done all of the other work a few months ago and had never had a cough since I bought the bike back in 2016, I just had the need to tinker with this last piece to see how it was done as the manual TPS adjustment is so different and somewhat archaic compared to my two other CARC bikes where we can reset it via Guzzidiag. Good learnings all the way around playing with this and I feel good about putting a new TPS sensor on as it certainly looks like an original one there now, plus I was able to clean out all of the crud that gets into that TPS housing reservoir. Hopefully I'll have good news to report shortly this week once I get the adjustment done and time for a ride sometime during the week. Thanks all...much appreciated!2 points
-
Ok, I'll take another crack at the upward facing high idle screw...hopefully it budges w/o breaking anything and that solves it...it is the 1 step I haven't done. 80CX100: Many thanks for the comments as well. My CO is set at +10, it was at +10 before as well, I took it to zero in one of the iterations here and it ran much worse, so I put it back to +10 via Guzzidiag. I suppose I could experiment and put it +20...easy enough to try! My air screws were 1 turn out before, and again now also 1 turn out. I tried it 2 times rotated out on both, but 1 turn seemed better at this point. I've had a bit of a revelation writing this...I did watch my Carbtune with both airscrews completely removed (you can hear a lot of hissing, but it's interesting to see....my RHS was sucking a bit more until I balanced later on with the linkage connector/white plastic square, so that maybe then the high idle screw is the culprit. Vacuum ports are both connected via hoses, not plugged, so all good there as I had the tank off a few months ago to replace the intake rubbers, clean throttle bodies, do the valve adjustment and ensure the airbox/new filter and all hoses were good and properly connected and snugged up. Even took the time to sand and paint my battery tray...not that anyone sees it but me! I'm not sure I understand what is meant by throttle linkage being indexed? Can you elaborate a bit? The throttle releases nice and smoothly, no catches at all. Nothing physically changed from before, but I can see that I don't have it screwed in all the way into the right hand plastic piece as the balance with the Carbtune doesn't require it to be now so I have a few threads now visible vs. the locking nut on the RHS. Witness paint - there's plenty of that on here from the prior owner...I'm going to have to scrape it off and apply fresh stuff!2 points
-
The "High Idle Screw" has to be released so that the throttle plate will fully close. That screw would have, originally, been plastered with yellow anti-tamper "witness" paint.2 points
-
Bare bones, simplest answer: these steps can't be skipped and have to done in order . . . The throttle "snapping" method always seemed awful to me. I resorted to holding the throttle plate firmly closed to establish the baseline "closed throttle = 157mV TPS." My best result ever. Be mindful of all of the factors that prevent the "fully closed" throttle plate when baselining the TPS. For instance, you didn't mention releasing the high idle cam or attending to how much the TPS reading "walks" as it is tightened. It is a mighty fiddly setting to get "just right" . . . but worth it!2 points
-
2 points
-
Ah that's right Bill, I do recall you mentioning the Norge was no longer in the Grappa. I had Norge on the brain as there was a beauty of a white one on the showroom floor yesterday I was admiring. Don't worry we can find a suitable place on the EV to affix the support stickers... On a bright note to end the weekend: I was able to purchase that complete gearbox off eBay this afternoon! Now just need to wait for it to arrive from Germany and hope it shows up in good shape... Making progress here though and now a few steps closer to having my V11 ready for Spring. Appreciate all the input/feedback/advice from the community here and hope to meet up with some of you in person this coming season. Cheers.2 points
-
A recurring theme with running issues of the V11 Moto Guzzi is that a decent tune-up often effects an amazing improvement. It is The First Place to start. This past weekend, we collectively tuned two V11 in the garage of the South'n Spine Raid. Both bikes sounded fabulous after and the members have given good reports on the results. While the *suggested* procedure is fresh in my mind, I figured to get the basics down. There are several ways to achieve a tune-up on a V11, some more time effective and some more elaborate. This one strikes a balance that is approachable by most owners with a little effort and a few tools. ___________________________________________________________________________________________________________________ 1) Valves/ Plugs: When cool (after the bike is off ~45 minutes), remove the plugs, adjust the valves to 0.006"/0.008" (.15mm/.20mm), then gap and install fresh plugs. 2) TPS Baseline: Using a Casper's TPS Breakout Harness (or equivalent), disconnect the right throttle linkage, release the upward facing slotted screw for the high idle cam, back out the difficult to reach 2.5mm hex-drive right-side idle stop set-screw, and clean the throttle butterfly, throttle return spring, and the underside of the throttle bodies (if necessary). It is critically important that the throttle plate is COMPLETELY closed and all of the above have been seen to! Many say to even "snap" the throttle closed a few times (within reason) to seat the plate fully closed. Others "zip-tie" the throttle plate firmly closed. Otherwise, you can simply apply a firm, constant pressure with one hand to ensure the plate is COMPLETELY closed. This indexes the throttle opening to the entire fuel-ignition mapping and cannot be over-emphasized. Loosen the TPS fasteners only enough to tap it or budge it slightly, it is VERY sensitive. Changing the TPS fasteners to standard hex drives (from the factory Torx) simplifies the process (M4-0.7 thread pitch x 17mm long). With a quality voltmeter, connect the positive to the violet/black wire and the negative to the violet (the yellow is not used for this setting). With the Run Switch on, switch on the keyed Ignition Switch. Adjust the TPS to 157 milivolts (most accurate over the factory value of 150 mv). Realize the TPS value changes when it is tightened down, so just repeat until you're in range. Reconnect the throttle linkage and set the high idle cam so it just nudges the throttle when engaged [we will recheck this after the last step, "6) Idle Speed"]. Leave the right-side idle stop backed out. (Some have found using both idle stop screws gives a more stable idle.) (EDIT/May 2019): Having had two TPS go bad after 50,000-62,000 miles/ 79.000-100.000 km, it is simple enough to check the TPS for faults when it is hooked up to the DOM (Digital-Ohm-Meter) . Switch the DVOM to resistance in the 2000 Ohm range with the key off. Slowly and smoothly open and close the throttle body and observe for a smooth transition of increasing and decreasing resistance from the potentiometer (TPS). If there are jumps and glitches or drops and variations in the resistance, the TPS should be replaced. Be certain to set the DVOM back to > DC voltage < before baselining the TPS in millivolts or you'll think something is terribly wrong! 3) CO Fuel Trim: Using guzzidiag software interface (or equivalent), connect your computer to the V11 with the two necessary diagnostic cables. Available from several sources, be certain the OBD cable is properly FTDI chipped. >> Check the Fuel Trim/ CO. If it is deep in the negative double digits, adjust it to zero. That may not be the exact AFR, but it will be immensely better than negative double digits or more (values of -27 to -128 have been reported!). Adjusting the Fuel Trim/CO with Guzzidiag requires the motor to be at operating temperature; simply follow the prompts on Guzzidiag. (The CO Fuel Trim can also be set with TunerPro at any temperature, but that's beyond this basic procedure). >> Don't worry about any other shown values at this point. >> Lambda (oxygen sensor) equipped V11 must have the Lambda sensors turned off in TunerPro. 4) Air Bypass Screws: Turn the upward facing Throttle Body air bypass screws in all the way and back them out one full turn. It is quite common that the tips of these become very sooty along with the passageways. If you have the time and inclination, remove them and clean them and the passageways with some throttle body cleaner. Watch your eyes, Eugene! (There is only a captured O-ring on them and no spring or tiny ball waiting to exit the universe!) [edit/May 2023: These O-rings should be inspected due to their age. Deformed, torn, or damaged O-rings should be replaced.] 5) Throttle Body Balance: Bring the engine to operating temperature. Connect a suitable Throttle Body balance tool like "TwinMax," manometer, alcohol/Hg sticks or the equivalent to the vacuum taps at the junction of the heads. With the white Nylon knob on the left, balance the vacuum at two or three thousand RPM or so (not idle). Make certain the white knob does not interfere with the shock's reservoir or anything else. See that the throttle linkage rod does not foul the speedometer drive on the right side. If you open and close the bell crank of the left throttle body, be certain the cable seats itself back in the groove. [Consider a lock nut against the white knob per Dave Richardson/Guzziology.] Some like to fine tune the idle balance using the air bypass screws, one in a little, one out a little to show good balance at idle. 6) Idle Speed: Let it idle and adjust the 2.5mm hex-drive left-side idle stop set-screw (easy to get to) to put the idle where you and your V11 are happy. Technically 1050+/- 50, I find mine *happier* a little higher (around 1150-1200+). Don't worry over the *degrees of opening* or the TPS idle voltage; seriously, just put the idle where the motor idles nicely for your conditions and liking. Once Steps 1-5 are set, you can put the idle anywhere you want. But you cannot start here. [Be certain the throttle cable has the appropriate freeplay to not pull on the throttle linkage in the idle position. Finally, recheck that the fast idle cam is not making contact, but just nudges the right throttle linkage when engaged.] ___________________________________________________________________________________________________________________ That's a "decent tune-up." I prefer to tune *early & often* finding that even at 5,000 miles (8.000 km), the V11 runs sweeter after setting the valves, fresh plugs, and a throttle body balance. There is a lot that could be added here, and many well informed owners and technicians do things differently, yet this fairly concise procedure has been shown to give very satisfying results with reasonable effort. As always YMMV, for informational purposes only, and no small furry animals were harmed in the testing procedures.1 point
-
Ohlins front and rear. keep up with current sport bikes $350 for powder coating the components he lists seems excessive unless suddenly something is way cheaper down under.....I just had 11 items powder coated in satin black for $50!1 point
-
My bike had apparently spent it's whole life? 6K kms with the tank vent line T'd off to the vacuum ports on the TBS,for whatever reason,when I changed the baseline tune up settings,it didn't like it. I cleaned out the 2 gas tank vent holes by the cap iirc 6 & 7 o'clock with small wire & eliminated that T and the hoses connecting the TB's,capped the ports off with vacuum caps,eliminating that wildcard completely. I'm not sure indexing is the proper term,but the first balance set up I had was perfect, but when I replaced the throttle linkage rod,in order to get it to snap into place smoothly with no right or left movement,the plastic cup on the end of the threaded rod at the right TB had only a couple of threads into that cup,I wasn't comfortable with that. I disconnected the whole rod (circlip on left side don't lose it btdt lol) buried the threaded rod completely into the plastic cup on the right side,readjusted the white knob on the left,so when I reattached the threaded rod linkage,I now had lots of threaded rod buried into the plastic cup when it was adjusted to snap into place with no movement on the throttle linkages.1 point
-
Ok...I'm intrigued enough to head back out to the garage again to take a blow torch, I mean screwdriver to the high idle screw tonight and then re-connect the Casper harness and see if the 0.157 has changed once the screw is backed out enough...will pay attention again to the right hand idle screw. The good news is I've become quite adept at contorting myself sideways to get that little allen wrench into the RHS idle screw...nothing is impossible now. I can even slip a 0.02 feeler gauge in there to make sure it's truly not touching. If this solves it...let me know where to send a bottle of your choice of fine liquor!1 point
-
The factory witness paint was a great help finding all the places that need to be messed with! Realize that, if you think you backed the idle stop screws, especially the right, out enough to fully close the right throttle plate for the TPS adjustment, and then find the high idle mechanism is fouling the closure: fully releasing the high idle cam could bring the throttle plate back in contact with the right side idle stop screw that had plenty of clearance before . . .1 point
-
1 point
-
I just went through this, my bike ran fine, but the air screws had been completely closed & my trim was at -26, I redid the decent basic tuneup with air screws opened one turn,that changed my baseline tune a lot. I redid it a few times,because I had to re index the throttle linkage to give me more space on the threaded rod part when I dropped it down into position. I changed my trim to +26 When I finished the tuneup & balance I reattached the existing tank vent T connection to the vacuum ports on the TBs. It ran great,but developed horrible tank suck issues. Cured my tank suck rough running issues by removing the T tank vent line,changing it to a straight atmosphere vent, & capped off the vacuum ports on each TB. Was your throttle linkage indexed,so it dropped down smooth with no movement? What is your trim? Are your vacuum ports capped? Did you start off by adjusting the valves as a baseline?1 point
-
If you’re really interested, you should contact Bruno(Brian) directly, he is a really nice guy and will respond to any inquiry within a couple of days. http://www.ghezzi-brian.com/en/contact/1 point
-
1 point
-
Regrettably -- but necessarily -- the Norge is history. Sold it last April to a young couple who love it and have added miles of smiles to its already82K. As I have said elsewhere (and maybe even here somewhere) about that, anyone can ride a motorcycle 100+ mph, but coming to a stop sign at the top of a hill on broken pavement, two-up -- without even considering the metric tons of Kathi's stuff in our panniers and trunk (Her Grace allows me the tank bag ) -- is more of a challenge than, at 75+, I am willing to take with said precious passenger. With four more Guzzis in the stable, and the EV, even at 107K miles, a reliable, safe, and pleasant pilot and pillion mount, it's not as if I am inconsolable about my plight. So, next SSR, either we'll take the EV or Kathi will drive one of our Fits as a sag wagon. FWIW, while hardly a fixed route -- and I have run this axis of advance to points south numerous times, I often think the most fun way to get to Princeton, at least, is to get to SR 42 to Newport, US 460 to Narrows, SR 61 to Rocky Gap, then up US 52 & (very briefly, thankfully) I-77 to Princeton. As TR was fond of saying, "Deeelightful." Bill [P.S. Edited to apologize for continuing the thread drift! Best wishes on that new-to-you Guzzi. It's one of my favorites.]1 point
-
1 point
-
1 point
-
1 point
-
1 point
-
1 point
-
How would the Michelin compares with other brands? According to the reviews on the Michelin site, the Road 5 wears out quickly. I will be able to confirm that in November this year, after I complete this year's Texas tour.1 point
-
If the 5's are anything like the 3's and 4's before, you'll really enjoy them. They do make the bike quite intuitive...and turns are effortless. Think left and you're left, think right and you're right. Bring the bike up one day to the National Forest and scrub the edges off those new tires!1 point
-
Do you know how it is being shipped? Just so's you know, DHL is likely to be affected by strikes at the moment.0 points




.thumb.jpg.6ca2ad474f505dd9ad78d32a82ac6c8a.jpg)

