Leaderboard
Popular Content
Showing content with the highest reputation on 08/03/2023 in all areas
-
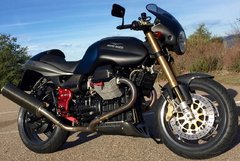
The notion that a motorcycle can't be art simply because some non-motorcyclist might not think it is art is laughable and misses the point of art. If even one person thinks something is art, it is art. That someone else, or even everyone else, would not call it art doesn't matter. Such is art. I appreciate the art side of motorcycles (and cars, that E-type is certainly art). But my favorite part of motorcycles is riding them. Side note, I have a guitar hanging on my wall that is art. I do play it periodically. But more often I just look at it. It is beautiful.5 points
-
So because of a huge house renovation, I have not had a lot of time to ride my Italian bikes However, the previous car was increasing in maintenance (and a diesel, which was not the right choice anymore), so I wanted something else. And well, the Italian blood was already there, so I bought my 4th Italian vehicle, this time with 4 wheels.4 points
-
Took it into the office... Bit fresh on the way in and windy on the trip home but rode the tripe out of her in the fun 40 kays! I think she enjoyed the dance as much as I did. Cheers3 points
-
Exactly.... Whether or not something is ART or NOT is in the eye of the beholder! Mechanics/engineers will appreciate that side of it whilst others will appreciate it's aesthetic side. Some will appreciate BOTH. Cheers3 points
-
I am certain the #112 O-ring is an approximation for those of us in the SAE world and the actual sensor O-ring is metric and of a particular durometer. I have no way of divining either of those things. It is not beyond Moto Guzzi's manufacturing standards that any particular casting could have enough flaw to fault sealing. Worth a careful inspection of the seating areas of the surface and the bore where the sensor resides . . .3 points
-
Here's a link to a picture of what I described above, when I replace gauges on Nero Corsa:3 points
-
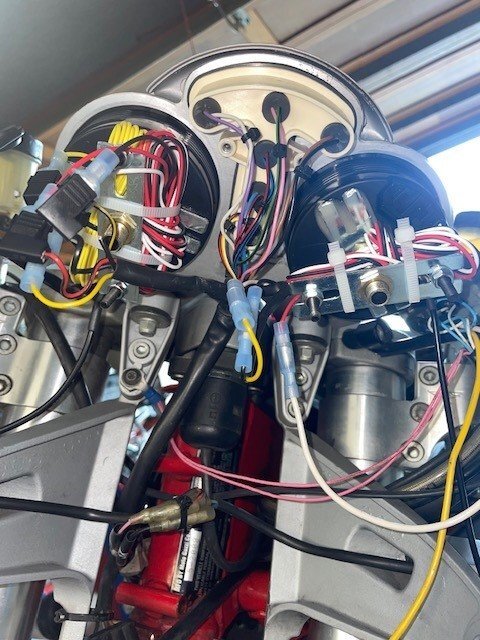
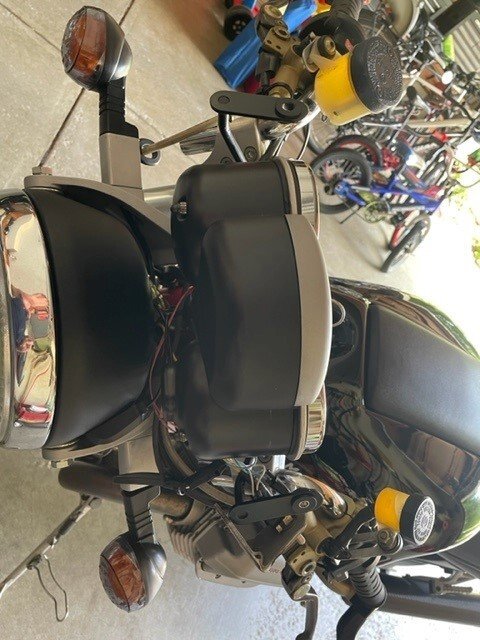
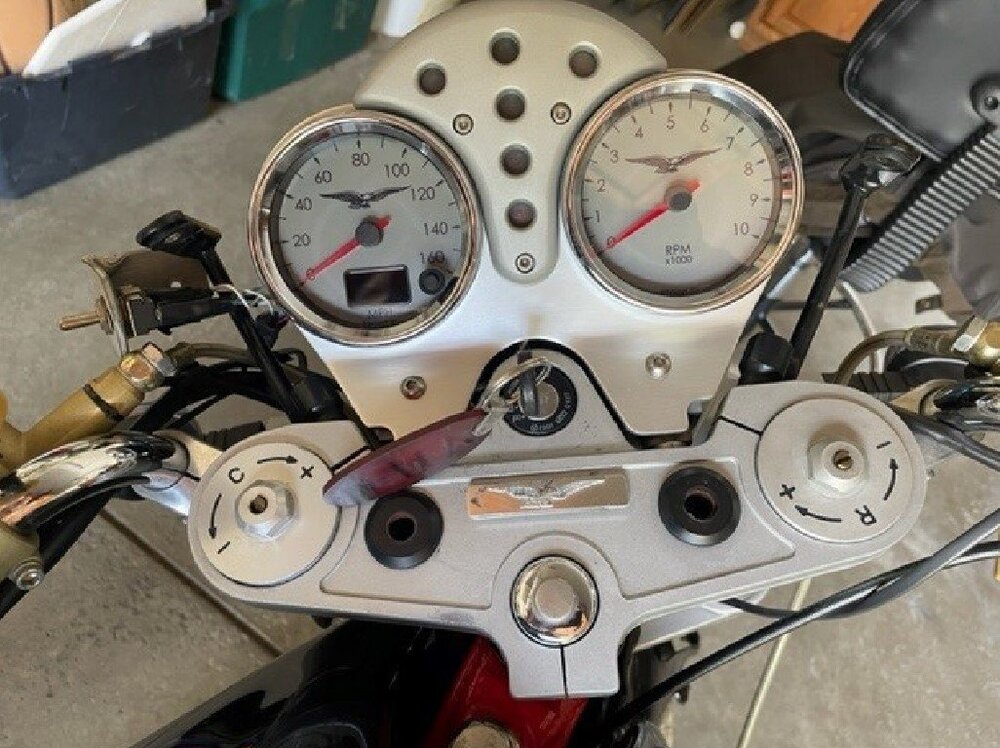
Success! I now have two fully functional and great looking gauges! After utilizing the work bench and the housing I was able to get the bolts aligned and the lock nuts tightened with some locktite. After which I was able to get the back housing on and fasten it with the original four nuts. It definitely took a lot of trial and error to get the appropriate depth of the bolts and alignment. One tip is once I was close to where bolts needed to be, I marked the back of the gauge so that I could line them back up if I accidentally moved it while adjusting, which happened quite a bit. I set the tach to 2 PPR and confirmed it was very accurate with Guzzidiag. I programmed the odometer to the same mileage as on the stock gauge. I went for a short test ride and all functioned extremely well. I still need to take out the old speedometer cable and plug it up. I received the bolt from Zoro this afternoon. Thanks everyone for the help on this task! Here are a couple final pictures. I will update with some night pics later on.2 points
-
When I bought my 03 Rosso new in 2004 from MG Vespa in New Orleans I was told that it was one of 57 imported to the U.S. Just another tid bit of information. Still have her and still running strong!2 points
-
last year I found an oil leak from this sensor on my Scura and found that the sensor was touching the timing wheel and causing the sensor flange to lift slightly and leak oil and stall the engine. after mounting the limiting washer and the ring, everything is fine. translated by google translator.2 points
-
Today is mySport's 23rd anniversary, but too much rain and too many patients to ride. Hopefully Saturday before the heat index goes crazy. I did review my latest maintenance notes. What I am calling my 130,000mile/210.000 km service - The last ten weeks and two thousand miles brought just about every service interval together: tires, all brakes/pads, all hydraulics (including clutch master rebuild), complete "Decent Tune-up" (with a new TPS), tank off with air/fuel filters, oil/filter, and truly-and-actually greased "that farking front U-ee !"1 point
-
The wiring looms under the airbox don't have much room, so check before you finalize tidying. My bike toolkit has a 14mm hex about 25mm long that fits in both f&r axles.1 point
-
Today: Got the new hose in for the engine ventilation. Surprisingly awkward to change it, but I'm cautiously optimistic that this was really the reason for the oil on the bottom of the motor. We'll see... Started sorting through the wiring loom. The way it was laid in looked like an experiment in macrame. In the process of doing that I established that, firstly, I didn't have enough long, black cable ties to finish the job and, secondly, the throttle cable needs renewing, so there is no point in binding it all up again anyway. I'd most likely need to undo at least some of it to get that done. Started to take out the rear wheel so I could have a better look in around the swingarm and drive-shaft. Established that I need a 13mm Allen key to get the axle out, which I don't have. Tried out the new grease gun on the two grease nipple that one can get to. I'll be looking around the forum this evening for the posts about getting on to the nipple at the front. I know they are here, I've seen them.... Tomorrow is an new day with exciting possibilities and endless potential ...1 point
-
I'm not in the garage yet today, but on the way, so today I've not done anything yet. Yesterday I started in on the rubber pipe directly under the frame rail for the motor ventilation. Currently, the Le Mans is on the lift with all the bodywork removed, and the tank and airbox, and I'm thinking about what else I should be having a look at while I'm in there. The "wheels off" and "tank off" topics from here are both available on the old laptop that I have designated as the "garage computer" for Guzzidiag, so I suppose I'll be working through them, more or less. Good is, I've got a couple of weeks more holidays, and the weather here is fairly ordinary at the moment.1 point
-
Just remove the whole gauge assembly from the bike. There are only three screws and a couple plugs. Then you can lay the whole assembly on a towel on the workbench and drop the plastic cup over the gauges. It is damn near impossible to get everything lined up when it's on the bike... but I think you already learned that. Further tip. Once you get everything lined up, with the gauge cup on - then take the cup off and make sure those lamp parts are screwed together tight. Extra nuts to lock them in place will help. Then final assembly on bench and mount the complete unit back on the bike. Then, on the rare occasion that you need a new lamp, the gauge cup will drop off without losing the alignment of the fasteners.1 point
-
No need to look any further than the very pages of this forum to see pictures of one's accomplishment proudly posted for everyone's attention and debate. It might not be Art but the process is the same. We are social creatures and we value our peers opinion and revel in their approval. It's also a good way to open up one's own limited view to a broader perspective.1 point
-
1 point
-
1 point
-
1 point


