Leaderboard


Popular Content
Showing content with the highest reputation on 06/22/2024 in all areas
-
I always remember the consultant to the movie 'Saving Private Ryan' who made the landing- when asked, 'What if anything was wrong with the movie?" his answer was, "There were not enough bodies on the beach". https://www.dailymail.co.uk/news/article-2429903/Peace-Day-Reminder-millions-lives-lost-war-artists-stencil-9-000-bodies-Normandy-beach.html3 points
-
Was there a cholesterol check along the way?3 points
-
Be warned. Mutton has a very characteristic flavour. I love lamb, but find mutton a bit challenging. In Australia, the animal has to have been less than 1 year old for it to be sold as lamb. Hogget is between 1 and 2 years old, and anything older than that is mutton. The taste of the meat gets more intensive with age, and mutton is very intense. Just so's you know what you might be getting yourself into.2 points
-
Best part of a Centauro is with V11 body work and tank you can turn one into a 5 speed version of my bike pretty much. Phil2 points
-
There are some very touchy moments, especially with the president of Ukraine and some of the veterans. There is no commentary on this video, it is just to be watched and imagine all these veterans 80 years younger on that day. When I did the army, I was 20 years old, and my regiment had the opportunity to meet with some of the veterans that chose to remain in France after the war. The landing on Omaha beach was simply impossible to describe for how brutal it was for the very first waves of soldiers. All the heads of states are being greeted by the President of France, and each of you here will recognize their own head of state. Interesting that in many cases, the French President uses the informal way to greet, but not with Prince William. Some of the discussions between the veterans and the heads of States are audible. It is a 3 hours long video; if you get the opportunity to happen around there, on your Guzzi or not, I suggest you go to Omaha Beach, and take stock of all the souls discovering these sands for the first and last time in their lives...1 point
-
I've never tried Mutton but after seeing/reading your posts Bill I reckon I'd like to try it.... Especially after Mick's description of it. Once again mate a great post and Thanks for taking us along with you! Cheers and don't worry about too many photos.....Take more next time!1 point
-
Nah, but I did double up my daily Lipitor dose. Check out that Maxwell link at the end of my post for a good description of how it is prepared in Daviess County, Kentucky, at least. Ditto my comment just above, but you are right: it ain't lamb. Bill1 point
-
I made up some bevel box drain plugs yesterday. I cheated and bought a couple of M12x1.75 plugs with the same hex head dia and turned down the threaded section and cut 10x1.5 threads which are a bit of an odd size for a drain plug. I had to also remove and shorten the magnets and re fit them as they were a bit long. Phil1 point
-
I don't eat much red meat, but lamb is my favorite. Those mutton dishes sound great. I never had it, but I'm sure I would love it. I think it could have got a bad rap from the one of many Seinfeld episodes. https://youtu.be/b-HisCMWaso?feature=shared1 point
-
Docc, here's a 650 V-twin "Tourist Trophy" Go to about 2:50 in the vid to se the morph.1 point
-
The Katana 650 always looked "just right" to my eyes. Colors and shapes that flowed together. https://fr.wikipedia.org/wiki/Suzuki_650_Katana1 point
-
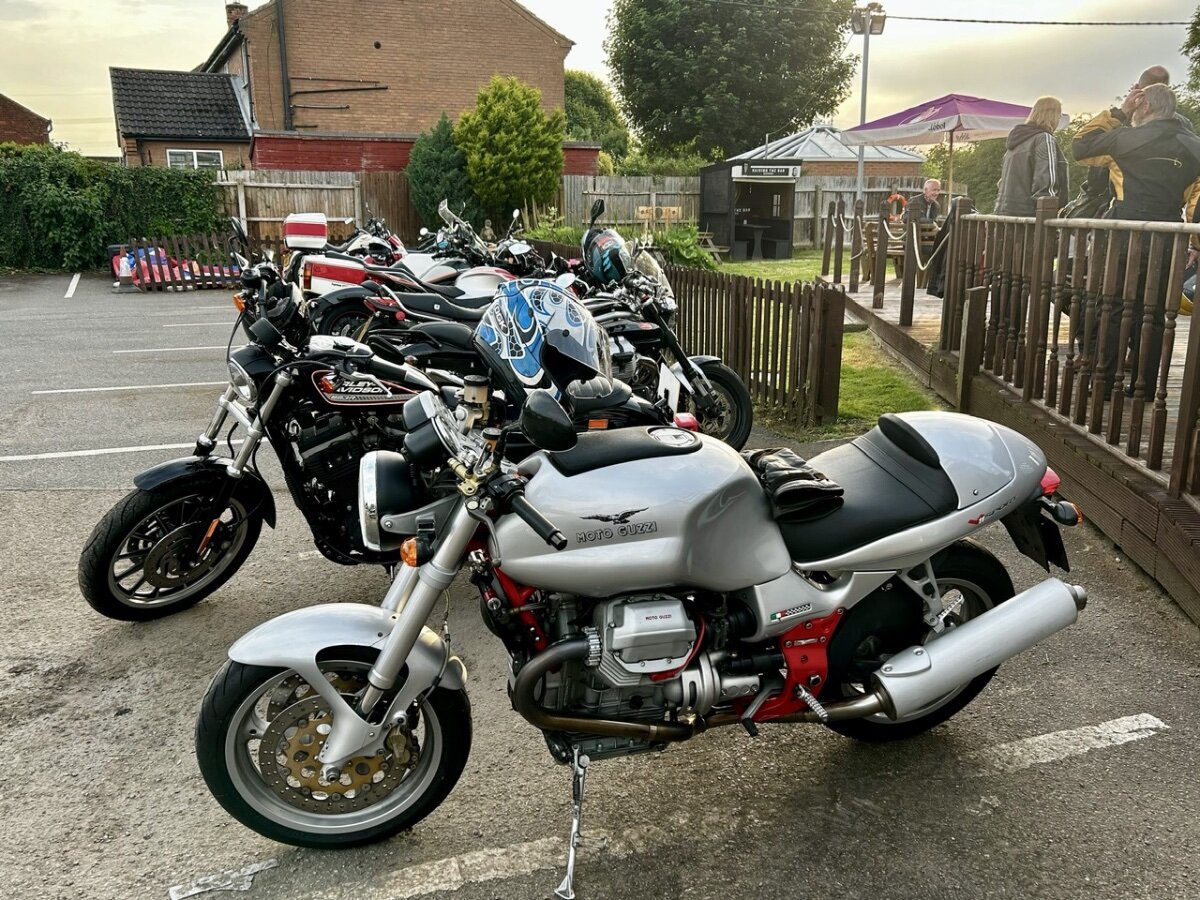
Last nights Guzzi club meet. Other makes welcome There are actually several other Guzzi’s in the line, but my photographic skills aren’t great

 1 point
 -
I have found that tech shop personnel respond well to 'engaged' clientele with clean projects. It presents a sign of respect. They will like you Tom ..1 point
-
That is why it is best to purchase the factory part and part # . Sometimes it matters .1 point
-
Three months to SSR XX. (Uranus visible on the horizon ) Start a new thread in Classifieds/Wanted with your wishlist . . .1 point
-
A recurring theme with running issues of the V11 Moto Guzzi is that a decent tune-up often effects an amazing improvement. It is The First Place to start. This past weekend, we collectively tuned two V11 in the garage of the South'n Spine Raid. Both bikes sounded fabulous after and the members have given good reports on the results. While the *suggested* procedure is fresh in my mind, I figured to get the basics down. There are several ways to achieve a tune-up on a V11, some more time effective and some more elaborate. This one strikes a balance that is approachable by most owners with a little effort and a few tools. ___________________________________________________________________________________________________________________ 1) Valves/ Plugs: When cool (after the bike is off ~45 minutes), remove the plugs, adjust the valves to 0.006"/0.008" (.15mm/.20mm), then gap and install fresh plugs. 2) TPS Baseline: Using a Casper's TPS Breakout Harness (or equivalent), disconnect the right throttle linkage, release the upward facing slotted screw for the high idle cam, back out the difficult to reach 2.5mm hex-drive right-side idle stop set-screw, and clean the throttle butterfly, throttle return spring, and the underside of the throttle bodies (if necessary). It is critically important that the throttle plate is COMPLETELY closed and all of the above have been seen to! Many say to even "snap" the throttle closed a few times (within reason) to seat the plate fully closed. Others "zip-tie" the throttle plate firmly closed. Otherwise, you can simply apply a firm, constant pressure with one hand to ensure the plate is COMPLETELY closed. This indexes the throttle opening to the entire fuel-ignition mapping and cannot be over-emphasized. Loosen the TPS fasteners only enough to tap it or budge it slightly, it is VERY sensitive. Changing the TPS fasteners to standard hex drives (from the factory Torx) simplifies the process (M4-0.7 thread pitch x 17mm long). With a quality voltmeter, connect the positive to the violet/black wire and the negative to the violet (the yellow is not used for this setting). With the Run Switch on, switch on the keyed Ignition Switch. Adjust the TPS to 157 milivolts (most accurate over the factory value of 150 mv). Realize the TPS value changes when it is tightened down, so just repeat until you're in range. Reconnect the throttle linkage and set the high idle cam so it just nudges the throttle when engaged [we will recheck this after the last step, "6) Idle Speed"]. Leave the right-side idle stop backed out. (Some have found using both idle stop screws gives a more stable idle.) (EDIT/May 2019): Having had two TPS go bad after 50,000-62,000 miles/ 79.000-100.000 km, it is simple enough to check the TPS for faults when it is hooked up to the DOM (Digital-Ohm-Meter) . Switch the DVOM to resistance in the 2000 Ohm range with the key off. Slowly and smoothly open and close the throttle body and observe for a smooth transition of increasing and decreasing resistance from the potentiometer (TPS). If there are jumps and glitches or drops and variations in the resistance, the TPS should be replaced. Be certain to set the DVOM back to > DC voltage < before baselining the TPS in millivolts or you'll think something is terribly wrong! 3) CO Fuel Trim: Using guzzidiag software interface (or equivalent), connect your computer to the V11 with the two necessary diagnostic cables. Available from several sources, be certain the OBD cable is properly FTDI chipped. >> Check the Fuel Trim/ CO. If it is deep in the negative double digits, adjust it to zero. That may not be the exact AFR, but it will be immensely better than negative double digits or more (values of -27 to -128 have been reported!). Adjusting the Fuel Trim/CO with Guzzidiag requires the motor to be at operating temperature; simply follow the prompts on Guzzidiag. (The CO Fuel Trim can also be set with TunerPro at any temperature, but that's beyond this basic procedure). >> Don't worry about any other shown values at this point. >> Lambda (oxygen sensor) equipped V11 must have the Lambda sensors turned off in TunerPro. 4) Air Bypass Screws: Turn the upward facing Throttle Body air bypass screws in all the way and back them out one full turn. It is quite common that the tips of these become very sooty along with the passageways. If you have the time and inclination, remove them and clean them and the passageways with some throttle body cleaner. Watch your eyes, Eugene! (There is only a captured O-ring on them and no spring or tiny ball waiting to exit the universe!) [edit/May 2023: These O-rings should be inspected due to their age. Deformed, torn, or damaged O-rings should be replaced.] 5) Throttle Body Balance: Bring the engine to operating temperature. Connect a suitable Throttle Body balance tool like "TwinMax," manometer, alcohol/Hg sticks or the equivalent to the vacuum taps at the junction of the heads. With the white Nylon knob on the left, balance the vacuum at two or three thousand RPM or so (not idle). Make certain the white knob does not interfere with the shock's reservoir or anything else. See that the throttle linkage rod does not foul the speedometer drive on the right side. If you open and close the bell crank of the left throttle body, be certain the cable seats itself back in the groove. [Consider a lock nut against the white knob per Dave Richardson/Guzziology.] Some like to fine tune the idle balance using the air bypass screws, one in a little, one out a little to show good balance at idle. 6) Idle Speed: Let it idle and adjust the 2.5mm hex-drive left-side idle stop set-screw (easy to get to) to put the idle where you and your V11 are happy. Technically 1050+/- 50, I find mine *happier* a little higher (around 1150-1200+). Don't worry over the *degrees of opening* or the TPS idle voltage; seriously, just put the idle where the motor idles nicely for your conditions and liking. Once Steps 1-5 are set, you can put the idle anywhere you want. But you cannot start here. [Be certain the throttle cable has the appropriate freeplay to not pull on the throttle linkage in the idle position. Finally, recheck that the fast idle cam is not making contact, but just nudges the right throttle linkage when engaged.] ___________________________________________________________________________________________________________________ That's a "decent tune-up." I prefer to tune *early & often* finding that even at 5,000 miles (8.000 km), the V11 runs sweeter after setting the valves, fresh plugs, and a throttle body balance. There is a lot that could be added here, and many well informed owners and technicians do things differently, yet this fairly concise procedure has been shown to give very satisfying results with reasonable effort. As always YMMV, for informational purposes only, and no small furry animals were harmed in the testing procedures.1 point
-
While this is a good start I can see why it would be intimidating for a beginner or someone who just wasn't familiar with a V11. So I'm going to try to break it down even more. The first attempt will be without the Breakout Harness. Apparently it can be done, just not as elegant. I'll update the first post as I learn more. And there will be pictures, a LOT of pictures. You cannot have too many pictures. I not only welcome feedback it's going to be required. Please respond and respond frequently. Questions will be in italics. I'l add pictures as I go along. So let's start with what Docc has provided and expand some more. 1) Using a Casper's TPS Breakout Harness (or equivalent) This was $30 with shipping and got to Oregon from Colorado in two days. Breakout installed. You need to strip the purple (pos) and purple/black (neg) wires so you can measure them. Leave the yellow alone. 2) Disconnect the right throttle linkage Prior to disconnecting the throttle linkage I took a measurement of the TPS. Not sure it shows anything useful. I had to use a screwdriver to pry the throttle linkage off. But it just pops off. 3) Release the upward facing slotted screw for the high idle cam 4) Back out the difficult to reach 2.5mm idle stop set screw To get mine back out completely took a long time. 5) Clean the throttle butterfly (if necessary) I was happily surprised that once you loosen the hose clamp the intake hose slides back. Very nice! As a side note I measured the TPS voltage before and after cleaning, this should give you an idea that you should at least consider cleaning it. Before cleaning After cleaning 6) Loosen the TPS fasteners only enough to tap it or budge it slightly, it is very sensitive. 7) Changing the TPS fasteners to standard hex drives simplifies the process (4mm/0.7 thread pitch x 17mm long). I had some screws that were the perfect size, except they are countersunk heads. Because someone jammed an Allen wrench into the Torx screws I had to use these until I can get the right head on the screws. But the countersunk ones hold just fine. 8) With a good voltmeter, adjust the TPS to 150-157 mV. Realize the TPS value changes when it is tightened down, so just repeat until you're in range. 9) Reconnect the throttle linkage I needed to use pliers. I also put a smudge of silicone grease on the ball before re-assembly. 10) Set the high idle cam so it just nudges the throttle when engaged. 11) Leave the right side idle stop backed out. Buttoned up! Like I said info will be added to this until anyone can walk through the steps. Especially me!1 point
-
Where you stick the multimeter leads? Positive in the black/purple (nero/viola) and negative in the purple (viola). Since your ECU faces the connector nefariously upward under the seat, you can "back probe" the computer. The TPS connector is a real hassle to get to. You'll see why the Caspers Breakout Harness is such an elegant, and cost effective, solution. Have a look at the photo I posted of the Breakout Harness and you can see the pins I used for too many years. Is the bike on or off? Make your connections key off. The ignition is on to see the TPS voltage. I think you can pull Fuse#2 and Fuse#5 so the fuel pump and headlamps are not on while you fiddle with the TPS. What settings do you use on the multimeter? DC volts, 2 volt range is good. Pull off the boot before or after the throttle body? I assume between the throttle body and air box. Yep. Do you test the voltage before you loosen the TPS incase it doesn't need adjusting? Oh, for sure. Get a "starting point" so you know how much you are changing it. This will make you feel even better about getting it set right!1 point