Leaderboard
Popular Content
Showing content with the highest reputation on 08/15/2024 in all areas
-
Swingarm....satin black. It's an agricultural piece on a V11 you don't want to be highlighting it. Phil3 points
-
Yea thats why for expensive items you need to contact them and ask if they actually have it in stock before you pay. At the very least they then need to contact their supplier and check availability. It's no fun paying up front then finding out they didn't know the part is no longer available. The refund takes days and you lose out on exchange rates and charges. If they don't bother responding it generally means they don't have the part.2 points
-
Because the tool receptacle is shallow and they are thread locked you need lots of heat directly on the fastener. A fine tip on the oxy torch is the way. Anything else is fraught with danger. Then replace them with something sensible.2 points
-
Every hub I've removed a rotor from has been a chore. A GOOD heat gun , professional quality sockets , sometimes a monster c-clamp providing downward pressure and a vow to never do this again , again and new torx fasteners . These should be available at Fastenal . I have lost my paper catalog so I can't post a part # .2 points
-
2 points
-
Handed the "answer" tag to @MartyNZ. [edit: "Golden Elephant Stamp " ] It continues to amaze me how dedicated our community remains!2 points
-
5 months ago..Daryl Hall at 77yrs old Joe Walsh at 76 yrs old...Are these Cats cool or what?1 point
-
No, mate. That is not a common hammer. That is a precision adjustment tool for specific British motorcycle models. Well, all of them, actually.1 point
-
1 point
-
A basic test of any adjustable steering damper setup is to adjust the steering damper to full stiff and turn the handle bars back and forth. If you don't feel a small degree of easy movement right at center, that is good and if you don't have any freeplay in your steering damper you are probably good there. If there is a small amount of easy movement before the damper makes turning the steering stiff, you have an issue and need to trace out where that is coming from. Same with any lack of stiffness anywhere else in the turning range. It should be equally stiff through the full range of movement. With the steering damper on full stiff it is easier to feel for freeplay. There should be none. I also recommend you turn the damper to full soft and feel for resistance to turning. In addition to freeplay being bad in a steering damper setup, stiction or resistance to turning can also be bad. That is how the wife's original steering damper died, it would stick at whatever point it was at. Turning the bars from that point required more energy put into it then it should, but once it broke free and started moving it then took less energy to move it. That resulted in the bike wanting to weave, as every time you turned you tended to turn more then you wanted to. The less you wanted to turn the worse it was. The only way you could easily feel what it was doing was if you turned the steering damper all the way down and turned the bars back and forth. Otherwise the steering damper hid the effect.1 point
-
@PJPR01 It is on a Sunday, and Montgomery is only 55 minutes from Texas says Google maps! I have submitted my candidature. My Quota is ready, said Davey, the last delay is for him to make the invoice... I have never participated to one of those. How do you raise funds? just being there and riding your motorcycle?1 point
-
1 point
-
Two things are bad about these brake rotor fasteners. A poor quality Button Head Torx The incorrect Loctite applied to the fasteners at the assy. plant. These fasteners are attached w/the philosophy "these things are not comin' loose" . Why ? ambulance chasers .1 point
-
Check these fasteners 4 Xs in the next 12 months to make sure they stay tight !1 point
-
This relates to my problems with the Andreani fork cartridges they they say fit's all models 1999-2006 that have 3 different type Marzocchi forks alone. Add to that the fact that re sellers have parts and accessories on their websites they don't actually stock and have zero idea on availability of that item until they themselves put in an order with their supplier. Phil1 point
-
1 point
-
That seems an odd fuse to fault from that bare insulation. Best keep looking..... [edit: I think Bubbles deserves her own thread....] [2nd edit: I did find this interesting, dedicated Bubbles thread:1 point
-
1 point
-
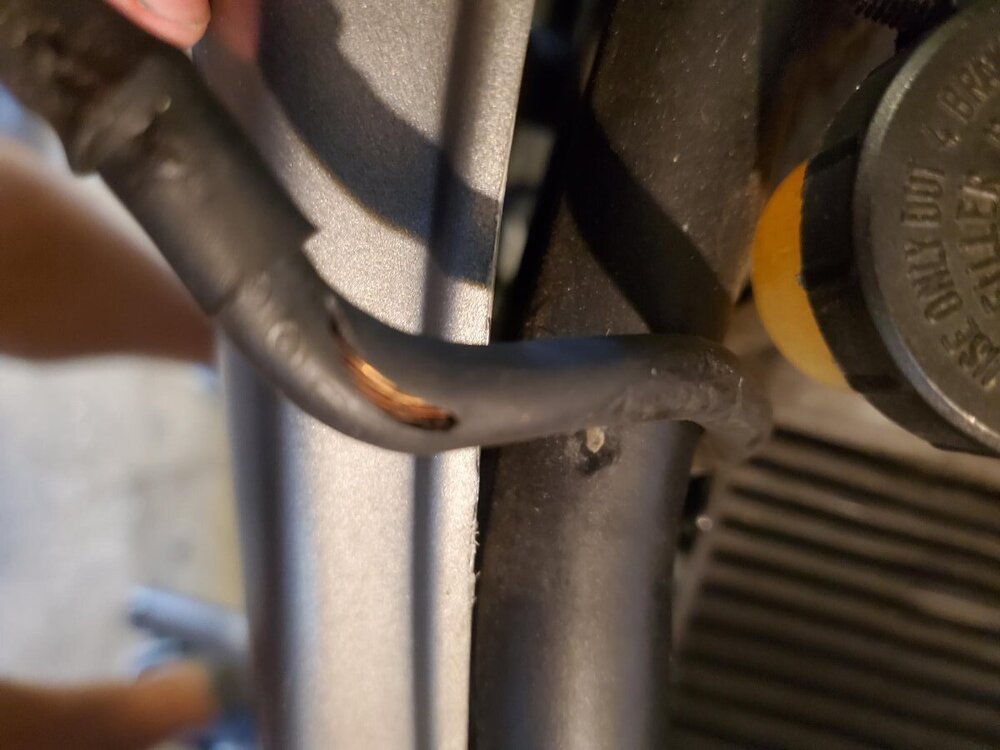
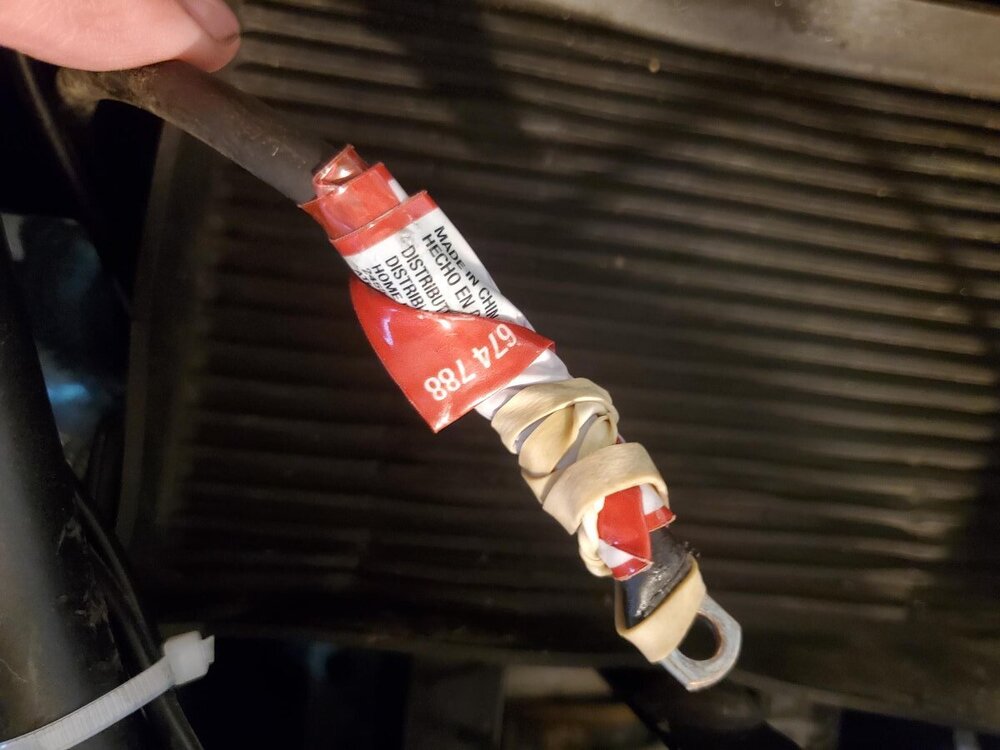
Incidentally, this whole business with Bubbles and the brake began when I had let the battery in the Tenni drain a bit too far. Having had especially good results switching to lithium batteries in the R1200R and the F800GS, I figured I might as well give an Anti-Gravity ATX-12 Re-Start a try in the Tenni. I find it a bit of a nuisance fiddling with the terminal connections on the battery in the V11, requiring a horizontal approach with limited space, so I figured that I would take advantage of the ATX-12's terminal allowing the bolt to connect from the top or side. A little twist of the wires and I was in business and shortly riding away. 1.4 miles from home, engine cut out and I coasted onto a sidewalk. No restart, nor any light on dash or priming. I figured maybe the lithium battery was a bad idea after all. Seat off, blown fuse (the 5 amp). My wife happened to be passing that way within a minute, so I left the bike in a parking lot, got my car and a few tools, and went to see what could be done. Apparently the sheathing of a lead had become somewhat brittle. I hadn't realized that in twisting the wire to attached to the battery terminal from the (convenient) top (as it lay in the V11), I had split the sheath . I suspect that a short may have had something to do with the blown fuse, but I also haven't ruled out something with the battery. Ideas? The in-the-field solution was to insulate the wire with some trash from the car. After much fussing around with batteries, I finally rode home, quite pissed that I had squandered yet another riding opportunity this summer. Quite the series of unfortunate events, and all utterly preventable. The good news is that the Tenni is again road-worthy with a little shrink tube and a good ol' Odyssey PC545 -- not to mention a new rear brake disc and pads; and Bubbles should be back on the road a few hours after my new brake disc bolts arrive. Cheers, Frey1 point
-
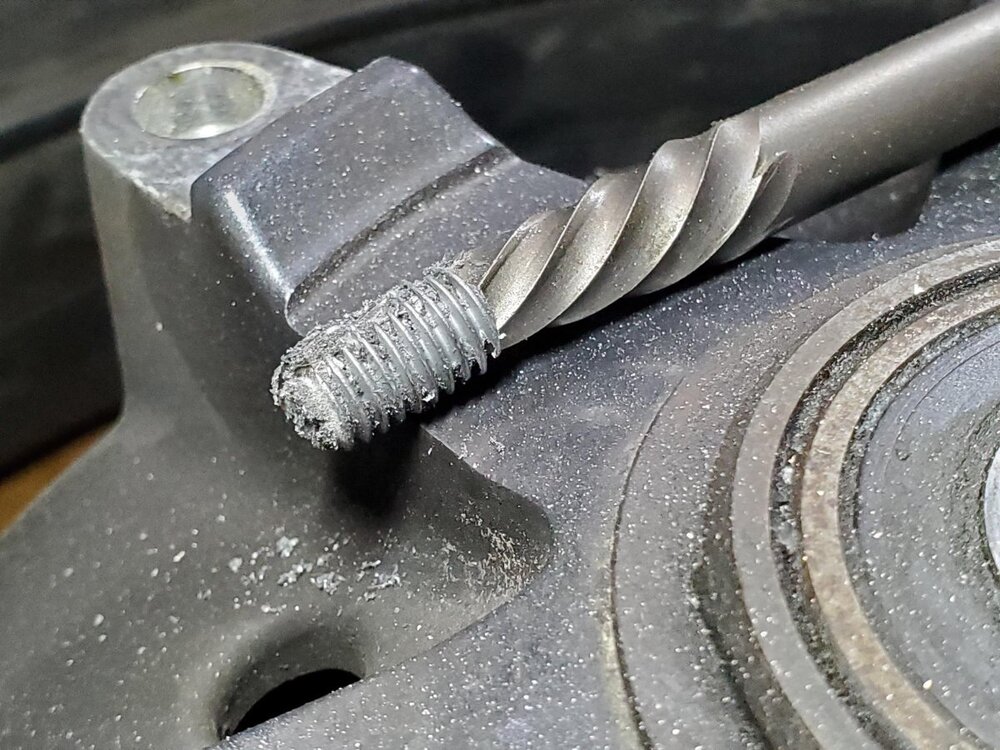
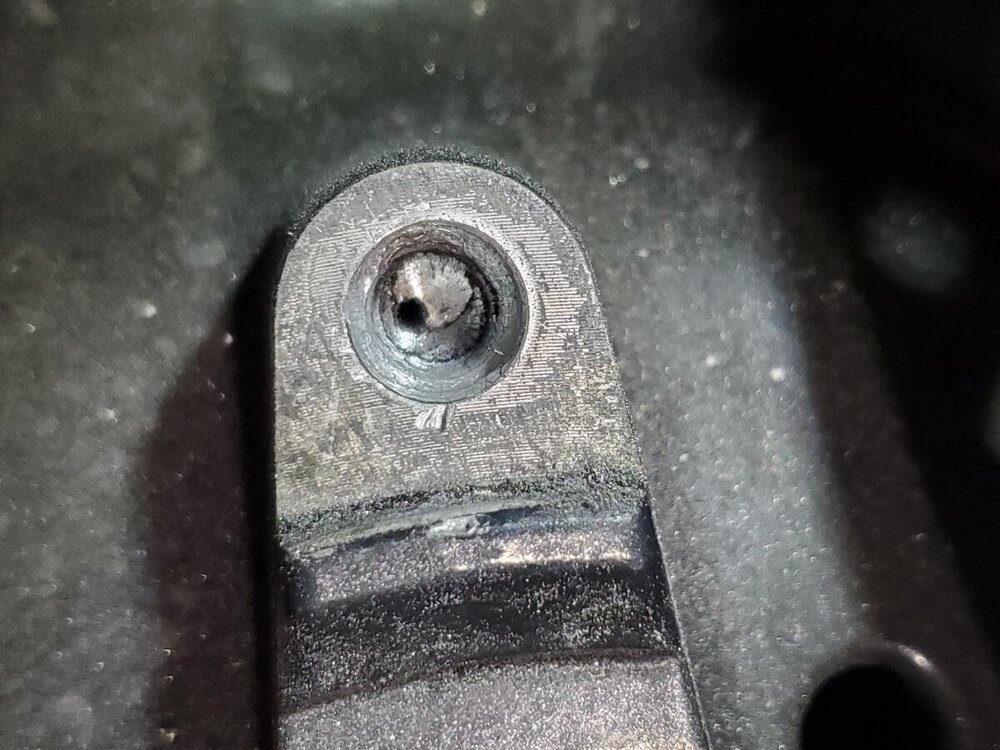
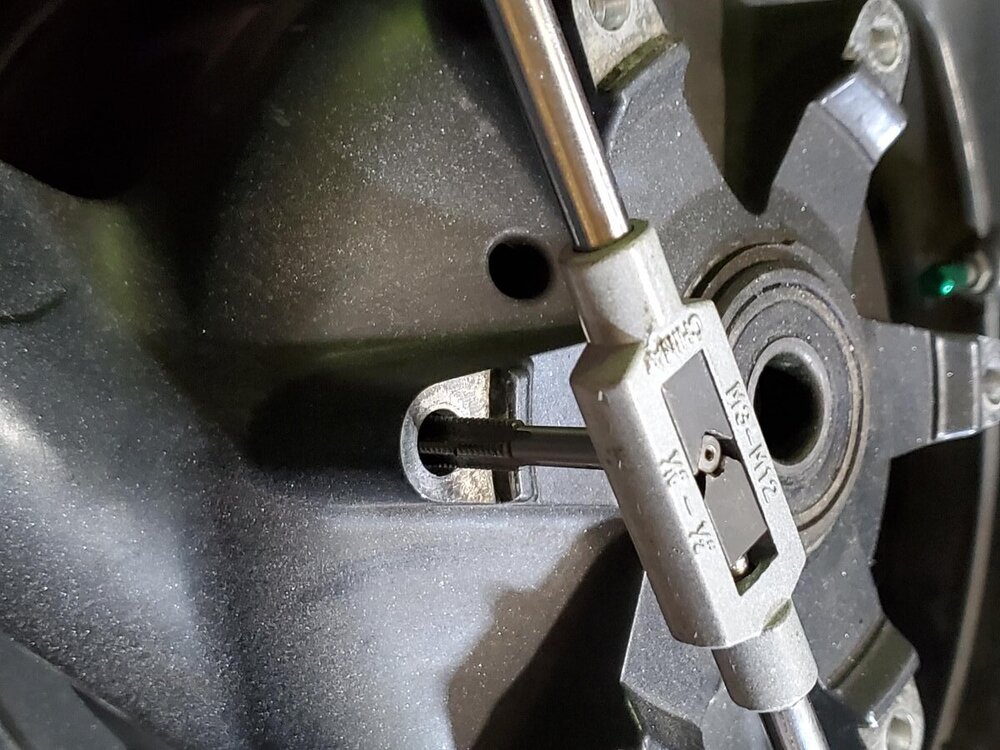
The saga of Bubbles continues .... In my last contribution (a generous term, that) to this thread, I explained why I needed a new rear disc for Bubbles. I did eventually find a new EBC disc at a reasonable enough price. It arrived. Not wanting to put new parts on the parts bike, I put the new disc (and new pads) on the Tenni, so I could put the very serviceable disc from the Tenni on to Bubbles (with new pads). Everything went fine with the Tenni and I cleaned up the caliper and bracket while I was at it. Moving on to Bubbles, I removed the caliper and brake bracket and started removing the six bolts holding the disc to the wheel. Four came out. Not wanting to round over the socket bolts, I removed the spindle the rest of the way and removed the wheel to my work bench. There, I hit the two tough bolts with PB blaster and propane flame to try to loosen them up. Despite trying to be incredibly careful, the sockets were rounded over (first time I touched them on this bike, so I'd like to blame P.O. ). Out came the drill. Drilled a hole into each bolt. I was able to get one out with a Speed-out, leaving a single bolt. Speed-out well-situated, a little torque, and ... snap. Speed-out sheared off inside the hole. Obviously, my drill bits didn't make a mark on the hardened steel. Shite. Called a local machine shop; they recommended a place with an EDM; that place recommended another; which said even if they could get it in the machine, it would take hours to burn out the hardened steel, to the tune of several hundred USD, so just buy a new wheel. I talked to an engineer friend of mine who said he would have no issue riding a bike that had five of six good bolts holding the rotor. However, my wife disagreed. If you've never had to get hardened steel (carefully) out of a threaded hole, it is possible. You can't drill it out, but you grind it out . A stop by Tractor Supply and Harbor Freight and I was armed with a 3-pack of chainsaw blade sharpening Dremel bits and a kit of a score or so of diamond encrusted bits of all sorts of shapes. After going through two of the chainsaw sharpening bits and on the third, I could probe a tiny hole -- the previously drilled out space beneath the hardened steel. Expanding that tiny hole with a long, tapered diamond bit, it looked like this: A little more grinding (I felt like a dentist -- kind of fun) and eventually a good sized chunk of hardened steel popped out. A little more fine diamond grinding and I was able to clean up the hole with the chainsaw sharpening bit. Then, a more robust extractor and the rotor bolt came out, threads and all. Existing threads in wheel where mostly intact, so passed a thread tapper through to clean up: Very light file on the flat at the rim of the hole, squirt of compressed air and voila, problem solved. Several hours and $16 of abrasive drill bits later. Cheers, FreyZI1 point
-
The lack of compression dampening in the first gen forks is fairly well known, but I can see how someone new would not have known. We probably haven't discussed that in a while. The easy button fix for that is to blank off / cover up one of the two bleed holes that allow the fork oil to get out of the way of the piston without having to go through the valving in the piston. I would not cover / block off up both bleed holes (as I recall there are two of them) as leaving one open seems to work best with the stock valving in the piston. But it may be that with different valving in the piston that can flow more oil you might get good results by blocking off both holes and forcing all the oil through the piston. I am not sure about the adjustments not working, but for sure if you block off one of the two holes and force more oil through the piston valving the adjuster becomes relevant and adjustments to it make a difference. But with the stock bleed holes the compression adjuster for sure only affects the last inch or so of travel (the part of travel after the piston has gone by the bleed holes in the cartridge). Also, having compression dampening ion one leg and rebound dampening in the other leg is not how all forks do it but a number of forks do it that way and there are even advantages for doing it that way. It can work fine that way. There are design issues with the first gen forks, like the compression dampening not mattering until the piston is past the bleed holes, but the separation of compression and rebound dampening to their respective legs is not one of them.1 point
-
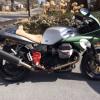
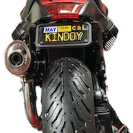
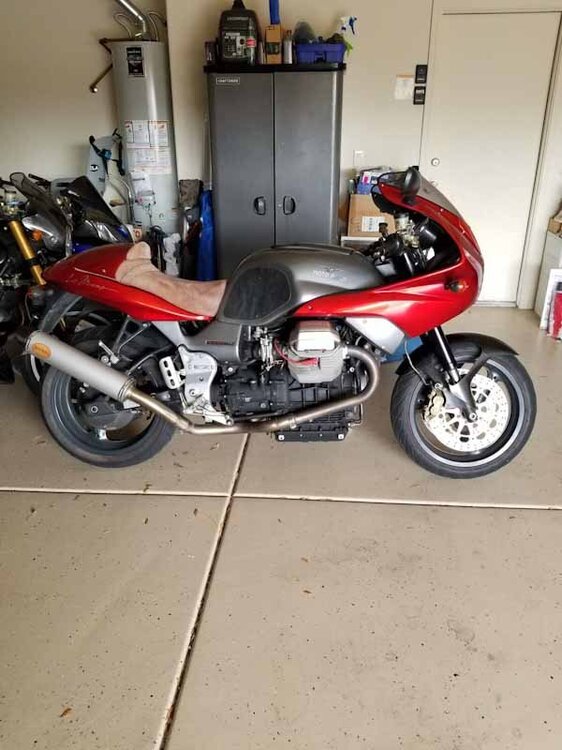
Hi Folks: Informed and inspired by this forum - and because I powdercoated the swingarm on my 2001 Greenie bright red - I removed my black plastic rear hugger and spent some time making a version of road-spray deflectors. Thought I'd post photos here for others to see. I made a version of the flat "lower triangle" very similar to what others have done, with a couple tweaks for fit and to protect the lower shock eye. And I made an "upper extension" that mounts to the existing under-seat plastic and extends a fork-shaped flap around the shock. That upper extension required a bit of heat gun forming because I worked its profile in steps around the battery basket. Attachment of the lower triangle is with zip ties and the upper extension is with plastic "Christmas Tree" style clips through the seat pan. The end result lets the swingarm and rear wheel/drive be fully visible. I sourced material for all the above from Home Depot in the form of one rectangular black plastic Rubbermaid trash can. It was what seemed to me the right thickness, cut pretty easily with an Xacto knife, will be durable for the application, and the price was certainly right. My process was to start with thin cardboard and scissors, then use what I came up with as the template for cutting out the plastic. Installed, these are basically invisible. And they do a much better job than the original hugger of keeping road spray and debris out of the shock and rear of the engine. Hope this helps!1 point
-
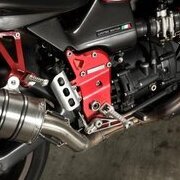
Hi folks: Attached are a few photos of silver Knight Design pegs I just installed on a 2001 Greenie. https://knightdesignllc.com/moto-guzzi-front-foot-pegs-sidetrax-lowered-1-inch/ I ordered, and they arrived in 3 days (granted, Knight is in Oregon and so am I). Very solid CNCd aluminum parts that use the existing mounting location, bracket and hardware. Total install time including chasing one of the little (briefly airborne) retaining clips across the shop was 10 minutes. No extra parts or fasteners required. It's useful to know, the end result is a slightly wider foot position than stock, requiring some noticeable toe-in to reach rear brake pedal properly. You could easily space/extend that pedal end if desired. The stock shifter pedal end sticks out further than the brake side, so reaching it is no issue. Angle change took about 5 minutes of riding to get used to. Your experience may vary. I'm about 5'11" with 32" inseam and size 11 US boots, for what that's worth. The 1" of extra leg room sounds inconsequential, but when you sit on the bike it feels (to me) much better. Wife even said I now look "more normal" on the bike. Which I'm trying to take the right way... Hope this helps clarify your choices.1 point
-
1 point


