wavey_davey1
Members-
Posts
50 -
Joined
-
Last visited
-
Days Won
3
wavey_davey1 last won the day on December 14 2024
wavey_davey1 had the most liked content!
Profile Information
-
Location
Shropshire UK
-
My bike(s)
2000 greenie (sold to a mate), 2005 Coppa Italia
Recent Profile Visitors
16,236 profile views
wavey_davey1's Achievements

Guzzisti (2/5)
91
Reputation
-
I thought Germans called them Gummicows or some such? Or is that just the old airheads? I like RnineTs, still air-cooled which I like and that motor is a stonker (had a 1200GS with the same engine). I test rode a RnineT with a view to having it as my everyday/distance bike, but the seat had other ideas. They're lighter than V11s by about 35lbs (according to US MCN who I trust) so quite a difference. I really like the Racer, but that riding position! Hence why they only sold them for a year or two I guess?
-
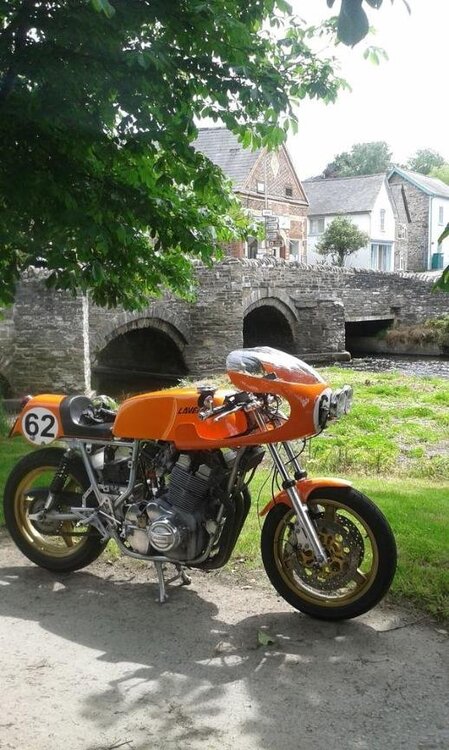
Wow, only just found this thread, and as an owner of a 180 Jota and ex-owner of an RGS (and the similar but tuned SFC1000) I feel the need to comment. It's often said by Laverda buffs that more myths and plain untruths are perpetuated by people who've never ridden them than almost any other make, and this thread sorta fits that view. I thinks it's a product of their rarity, especially in some markets, and their position as one of the most expensive bikes you could buy back then, the two being linked I guess? 180 Jotas WERE the fastest production bike in the world for a time and had the proddy racing success to prove it, mostly in UK and Sweden. Compared to the other powerful bikes at the time (mainly Z900s, everything else was at least 10bhp less) they handled a fair bit better. They were never "terrifying anywhere near their top speed" on the road, and tended to weave predictably on the track at 10/10ths, which was, in fairness, a fair bit faster than most other's 10/10ths. A recent track day on mine (admittedly lighter than stock but otherwise standard frame) never gave me any moments and was a model of stability. I was lapping with Rob North Tridents and hitting 125mph (GPS speedo) on the short straights up to the braking points. On the road compared to my mate's 1000 Multistrada who I ride with, the suspension is woeful (30 years difference so it should be), but the stability in fast (smooth) sweepers is at least comparable. The RGS was a step up from the 180s with the smoother rubber mounted 120 engines as has been said and a lower CofG, but a 1000cc 180 (2 pistons up, one down) vibrates like a 333cc single not "one and a half bonnevilles", and my own experience of my two bonnevilles bears that out. Spares are no worse than any other small production 50 year old bike and actually much better than most. Wolfgang, OCT, Redax, Laverda Scozia, Laverda Paradies etc etc are all great sources of spares and expertise. I would put the spares prices and availability at about the same as, well, Guzzi V11 Sports. Finally the RGS was the original company's swansong and was (and still is amazingly) a superb sports tourer with advanced aerodynamics (only the R100RS could really compare at the time) and like most Laverdas, fabulous build quality (again, for the period) and reliability. A lot of RGSs are still being used for exactly what they were built for. incidentally, the two colours (red and silver) were due to use of specialist (BMW car bumper derived) flexible paint applied to Bayflex flexible plastic mudguards and sidepanels, which could literally be bent in half without leaving a mark. Possibly a solution looking for a problem but a mark of how seriously the Laverda brothers, who ran the company and were both passionate bikers) viewed their products and strove for quality. Fully adjustable eccentric footrests was another example that is yet to be replicated to this day (god knows why?) The filler cap at the front was allegedly a response to threatened crash testing being introduced by DoT in the US, which never happened and cost Laverda money it could ill afford. Advantages are easy filling with a tankbag and elimination of the godawful leaking filler cap that all the Italian manufacturers used back then! If I was asked to ride from here (UK) to say, Sicily on my choice of any 70s or 80s bike I'd choose in order (having owned and toured on all of them):- Laverda RGS BMW R100RS Guzzi Lemans Mk3 (not two up!) The RGS featured in this thread btw, was an "executive" with purpose made panniers and hand extensions on the fairing, very very rare. Sorry, I'll get off my high horse now!
-
So did I, and the ebay advert had it as a 2005, which MIGHT be when it was registered in Japan, no idea? However I've just found in my extensive selection of old motorcycle magazines a UK test of a Cafe Sport from November 2003. The paper VIN label on the frame of mine under the tank actually lists it as a Cafe Sport so from a homologation aspect Guzzi appears not to discriminate between the Coppa and the Cafe?
-
It's a Pirelli Angel GT2, same as the front (well not the same but you know what I mean!). Good reviews o we shall see. Thanks for all the kind comments. Good news today is I had confirmation all the import taxes (VAT declaration called NOVA here in UK) have been paid, I'd had my doubts despite the vendor's reassurances but unfounded. So contacted UK Guzzi Owner's club for a dating certificate and then registration application proper can begin! STOP PRESS: Just been informed by UK Guzzi club I don't need a dating certificate as it's under 25 years old (10th VIN digit =2003) so all systems go, just get an MoT (yearly roadworthy test) next!
-
-
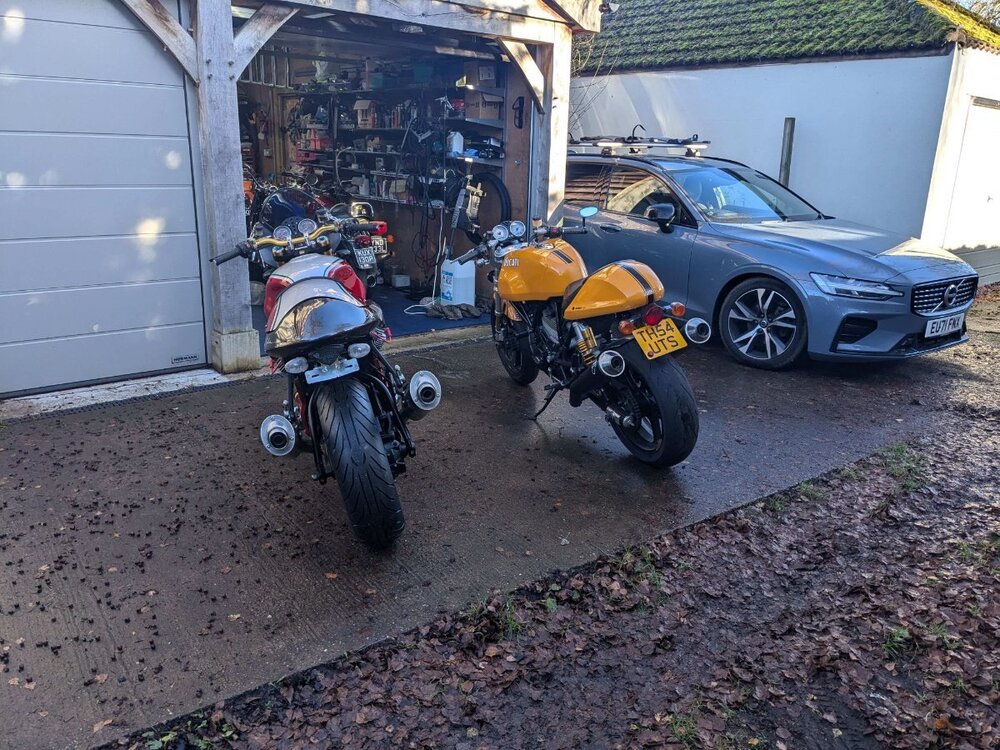
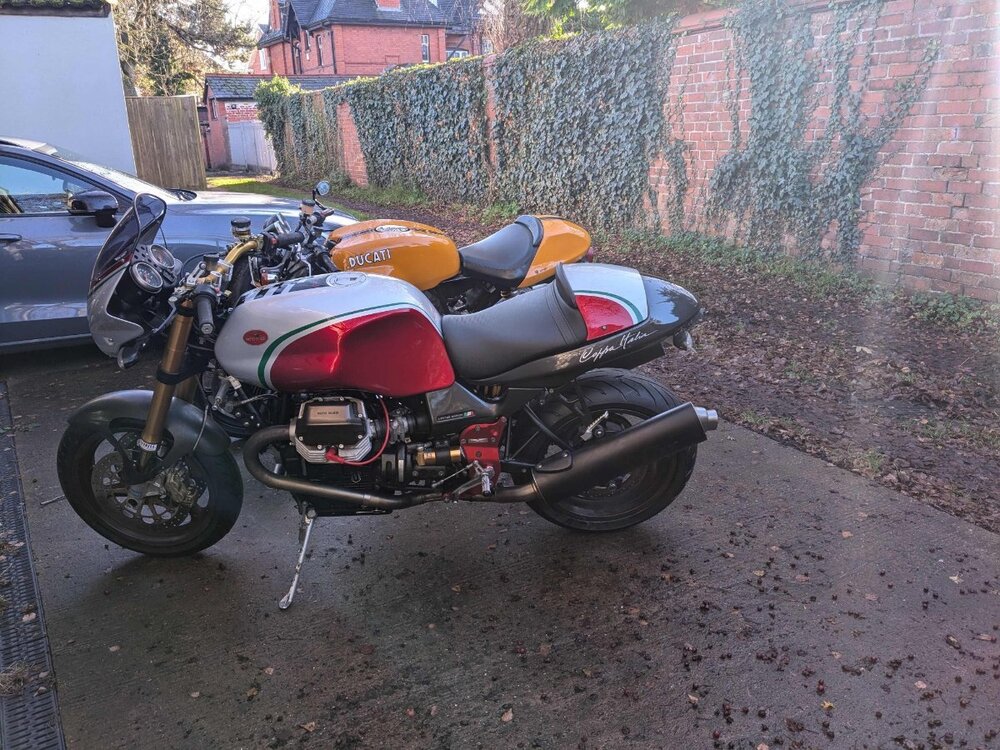
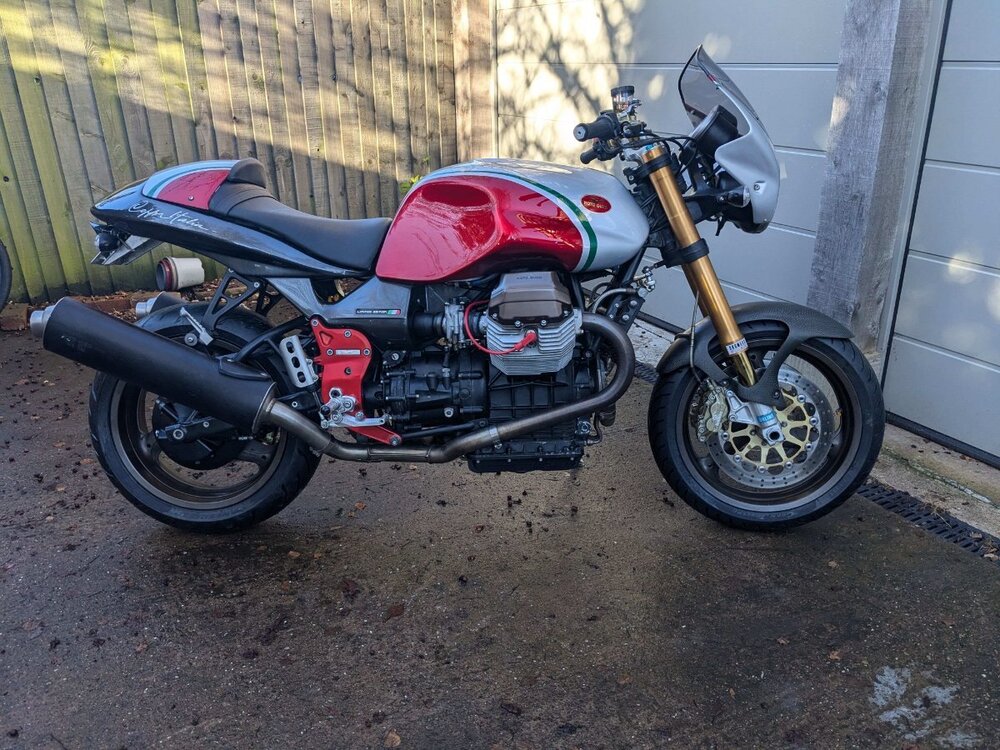
Well here she is in all her glory! About 99% there (apart from inevitably painful registration process). Just the alternator cover and one horn to repaint and later on, new dust seals for the Ohlins forks. I suspect the steering bearings will be dry (the ones in my greenie were toast after 2 years!). I had an illicit run round the block for a few hundred yards just to check everything works ok, which it does except for neutral light. Clutch and gearbox fine, ticks over and responds to (limited) throttle (new tyres, wet roads, not registered!) cleanly. Haven't touched the TB settings yet apart from the TPS. Pretty pleased with how she turned out cosmetically, looks pretty much the same in the photos before/after but huge difference close up with 17 years of crud removed. The wiring loom in particular was in a horrible mess, but fine underneath it all? I found a better glue residue remover (this one if you ever need it for UK forum members ). https://www.screwfix.com/p/scrubb-adhesive-remover-250ml/513ve It turned out to be paint friendly (I think, see later comments) and didn't remove the existing tailpiece decals, but not before I'd already damaged both sides in a couple of places with early attempts, despite being very careful and literally spending 3-4 days just on this with the original glue remover and fingernails. Will attempt a silver paint touch up remedy as decals not available anymore (though could probably get custom made ones). So far no oil leaks from bell housing but very early days and I did add some "seal doctor" type additive in the engine oil? Biggest concern is, despite drying the tank out (stored all those years I suspect with about 3 pints of horrible stale fuel the colour of tea) for over a fortnight with the filler cap open and pump plate removed, it now has 3 tiny bubbles on the top surface which definitely weren't there before?? MIGHT be the glue remover but I doubt it somehow, and could spell bad news in the future? Will have to wait and see but the tank hasn't swollen like on my old green one (I serviced that etc a year ago and had to redrill the frame mount), same as my friends early multistrada. Once I have it registered (will need an MoT) I'll drain the tank again for the winter and see if it helps. It would be a crying shame as the paint, apart from a couple of obvious scars, is in lovely condition. But why would it bubble now, it has only had a few pints of E5 (UK 5% max ethanol but actually 0% I put in fresh? Ho hum.
-
Thanks Docc, felt great! Yes good advice, I had the bike supported in a front wheel chock, ratchet strap off the rear frame loop to the rafters and a car jack with wood blocks under the sump (not really taking any weight) whilst doing the swing arm etc as the Becker stand obviously had to be removed. I'll do the same with the front wheel out (it's back on the Becker stand now with lower rear subframe back on) and also rig up a second ratchet strap off the bars or similar. Makes sense that the connector isn't AMP I guess but the pins fitted nicely in the OEM connectors so jobs a good un as my dad said.
-
Good point about bar angle Phil. Years ago I had a Laverda RGS, one of the very first bikes with a hydraulic clutch actuation. Anyway, a previous owner had sheered off the slave cylinder bleed nipple, and that was a big deal as the slave cylinder was cast into the gearbox cover! It turned into a non issue however, as tilting the whole bike carefully against a wall away from the prop stand put the master cylinder at the highest point, then zip tying the lever overnight and it bled up every time! In fact you could get it 90-odd% bled by doing the lean against a wall and pumping the lever gently a few times. Putting a bleed tube on the nipple on the master cylinder banjo I fitted and cracking it slightly effectively did the same thing as tilting the whole master cylinder I think, as that was what seemed to finally sort it (hopefully)? I put ptfe table on the bleed nipples when using the vacuum setup, as I know what you mean about sucking air in around the nipple threads. This helps and I only use a small vacuum to try and minimise this, but I like the grease tip, thanks I understand your viewpoint on the remote bleeder but it really is a pig to access with the later subframe. Maybe a solution looking for a problem but it weighs almost nothing and took 30 minutes to make up??
-
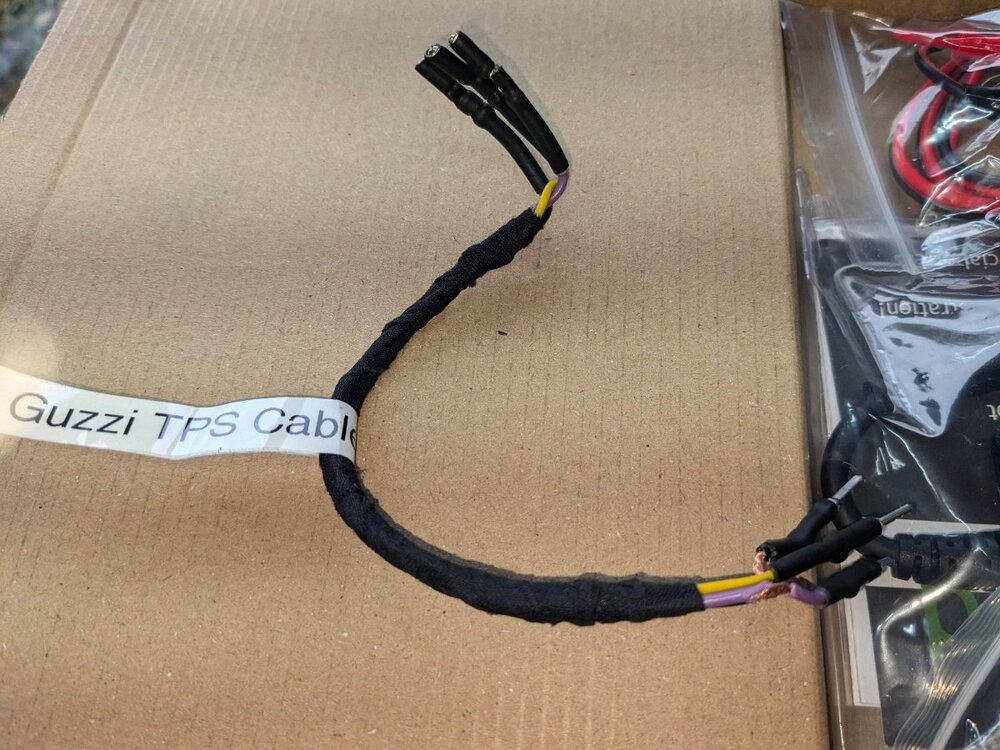
Last update tonight. While waiting to see if the clutch hydraulics are going to play ball I have fitted the new throttle bodies I sourced off German eBay after corrosion saw off one of the original ones (see earlier posts). The freshly serviced and tested injectors went in without apparent drama so before the inaugaral fire up I needed to set the TPS. I ordered some AMP superseal connectors I THOUGHT were the right ones, but of course they weren't. AMP make a few variants beyond just the number of pins apparently. Anyway, no worries, I made up a lead to clip the multimeter to using just the pins from the connectors, as in reality you only need to use this lead for a few minutes every year or two at the most? The TPS that came with the "new" TBs looked to be in better condition so I went with that one, and after a bit of fiddling (as pretty much everyone on this forum is aware) I got the reading as near as dammit.. I had also performed a compression test on the starter motor and both cylinders were within a few % and healthy reading, albeit on a cold engine. Tank back on (after being aired empty for a few weeks with cap open and pump and filter removed) and fresh fuel. Ignition on, (after refitting the pump relay) and everything seems to be ok, except fuel leaking from one of the injectors, possibly due to the hose being kinked due to poor routing forcing the injector to not sit properly in it's seat. Anyway I was too impatient to remove tank etc, as the leak isn't bad and went for it! Success! The motor fired after about a second of churning and sounds super healthy, no smoke, rattles or nasty noises. A real landmark in bringing the princess back from her slumber. I've only run her up a handful of times as the clutch/swingarm/rear subframe episode has taken over, but she sounds sweet, even on standard pipes and collector. Next steps after the clutch ok (hopefully) and refitting rear end are new tyres booked in for this week (pair of Pirelli Angel GT2 s). I just need to work out how to support the bike so i can take BOTH wheels to the tyre fitters rather than two 30 mile round trips. I'm starting to get excited!
-
Here's a pic of the remote bleeder I made up with some stainless hose and fittings. The actual bleeder is from these guys, they do a zinc plated version and stainless so I treated myself! https://www.competitionsupplies.com/remote-bleed-fitting/remote-bleed-fitting-stainless-steel However, although the clutch had been working fine before I touched it (going purely by lever feel), it proved impossible to bleed up with the remote setup, air getting in somewhere? I ended up fitting a banjo with a bleed nipple at the master cylinder end (I had one spare from when I rebuilt my Guzzi T3 linked brakes which were a nightmare to bleed afterwards!) and reterminating the hose fittings on the bleeder, in case I'd trapped some stainless wire from the hose cladding inside an olive or something? In the end I was able to bleed it up ok with my vacuum bleeder and all the nipples ptfe taped to prevent air coming in. I am waiting to see if the clutch lever remains firm despite lack of any obvious leaks, before I refit the swing arm etc. Possibly in bleeding (and obviously pumping the clutch lever repeatedly) I've exposed an issue with the master cylinder which has presumably sat for years unused, but everything looks nice and dry? This has proved to be the most frustrating aspect of the recommissioning so far!
-
-
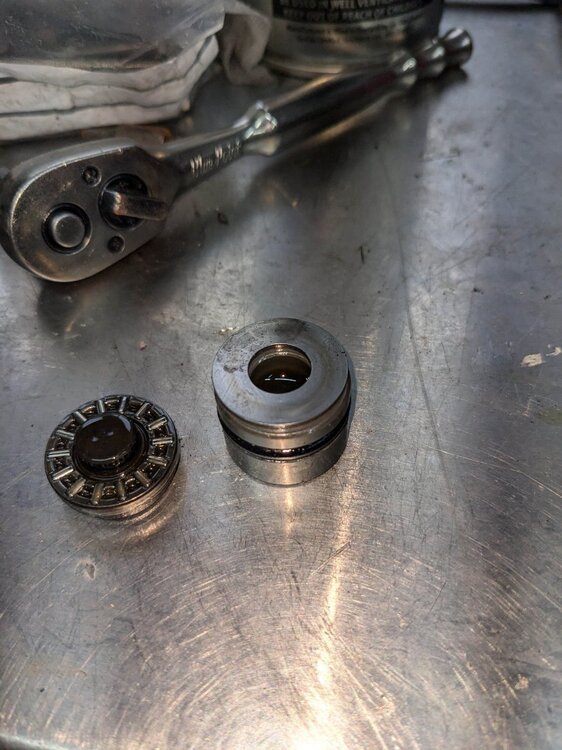
You might be right Docc about the bleed nipple on the clutch slave. I removed the rear subframe, which is a swing arm out job and checked over the slave cylinder. No leakage apparent and piston in immaculate condition. The thrust washer on the end of the clutch pushrod had tiny (and I mean tiny, no surface corrosion evident with a fingernail test) witness marks from the radial bearing it sits against - see pic. Presumably because it's been sat in that position for over a decade and the oil film broke down on the top half? Anyway, nothing to worry about. I flipped the hardened washer around so the clean side is against the bearing, changed the o ring that seals in the gearbox oil and replaced everything with A4 stainless fasteners (copper greased) after respraying the corroded paint with etch primer and the VHT case paint. Looks a lot better and a good match for the rest of the cases. THEN I decided to fit a remote bleeder setup (as Guzzi did with the Griso), what a pain that turned out to be! More later...
-
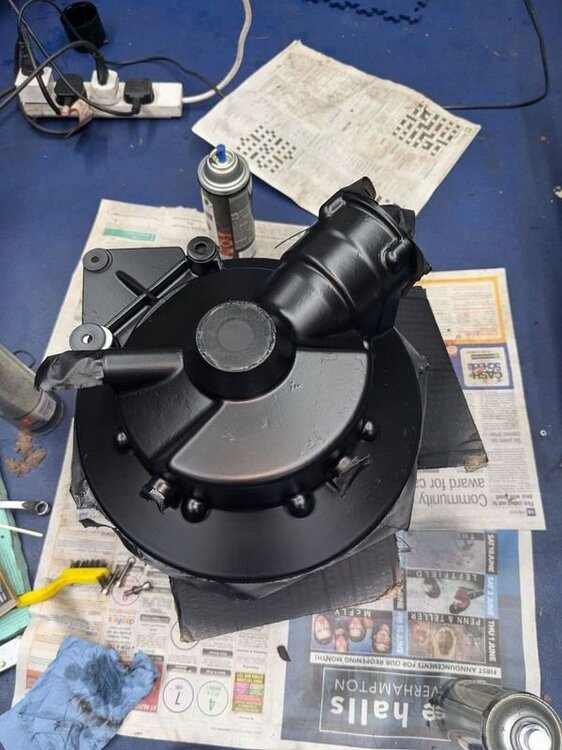
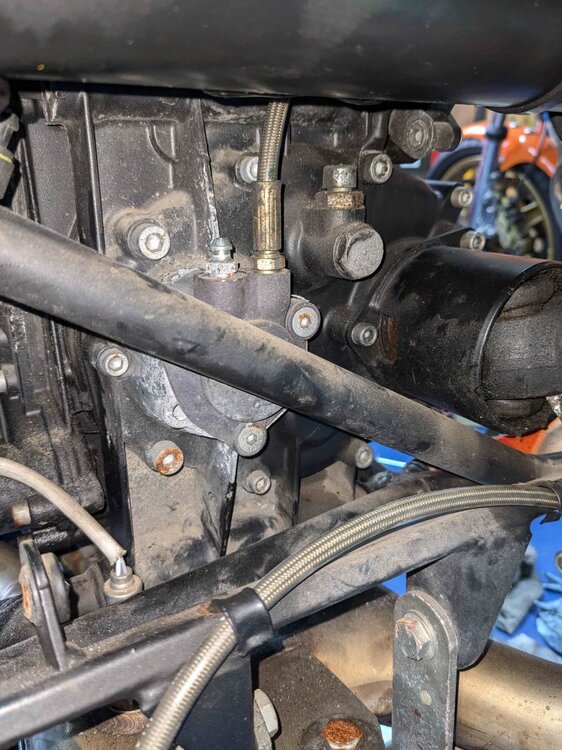
OK, apologies for lack of updates as life took over, but have made a fair bit of progress. First off I dropped the sump and changed the filter and checked the screen, totally clean, and no signs of anything untoward (corrosion, emulsified oil). So decided NOT to wait for the Roper plate from Gutsibits and button it all back up with new stainless fasteners. Of course the roper plate arrived a few days after this decision . The rear bevel box was a right mess with flaking paint, so I took out the rear wheel and then the bevel, all pretty straightforward. Removed all the flaking paint and a couple of coats of etch primer followed by the VHT case paint (already established as a good match for the rest of the satin black on the bike) and looking a lot better (see pic before final sanding and top coat). With the wheel out I could take a better look around swing arm and gearbox area. Looking around the clutch slave cylinder there was some localised paint flaking underneath it (2nd pic). I reckoned this MIGHT be leaking seals and decided to take a closer look at the slave, given how difficult it is to get at (Caution: understatement alert!!) With the later frame with additional lower bracing there is NO WAY to get that cylinder out without removing aforementioned subframe. At the same time as all this I attempted two different methods of greasing the front UJ. Yes, the bit I'd been dreading. There's a joke in Norton Commando circles that the bike was built around the horn (behind gearbox, in front of rear mudguard). Well I have concluded the V11 assembly line in Mandello started with that front grease nipple! 1st attempt :- heat grease delivery tube on one of my 3!) grease guns and bend it. Result - one broken tube 2nd attempt :- try from underneath with a flexible hose. This required taking a small notch out of the grease gun head to latch onto the zerk. Result - grease all coming out of the notch, none in the zerk Anyhoo, given the rear subframe has to come out for the clutch slave cylinder access, and that means the swing arm too, I could do the UJ (etc) greasing with all that out of the way... More instalments later!


