

Lucky Phil
-
Posts
4,921 -
Joined
-
Last visited
-
Days Won
253
Content Type
Profiles
Forums
Events
Gallery
Community Map
Posts posted by Lucky Phil
-
-
Yeah isn't it? I'd say i've had the rossopuro on for around four thousand miles, and these were the second set of joints i fitted. I don't even have an adaptor to fit these nips so kinda redundant i suppose.
I'm not wise in the way of these things but thought, due to the poss severity, it best to 'create awareness' as they say. When i looked at the amount of metal either side of the lube point i did think it seemed kinda paltry for this particular usage.... but like i say, my knowledge of metal strengths/fatigues is (was?) zero.
Hmmm, 4000 miles isnt much. I'll be keeping a close eye on mine for sure.
Ciao
-
Thanks guys. I ordered a ring compressor last night, but it was a sleeve type, not the one pictured.
I think I would feel better about tapping the pistons in from the bottom - seems like less risk of error. Then what - do I reconnect to the rods before sliding the cylinder all the way down - or do I do that from inside the crankcase?
Won't be home till Friday - will take closeups then. I don't think I need to (nor do I want to) remove the valves.
Install the piston into the cylinder leaving the piston pin accessable and install the cylinder on the studs and slide it down until you can slip the pin through the piston and rod and fit the clip. Job done.
Ciao
-
Aaaw come on Phil you're killing a lot of guys fantasy here....
Theres a reason they're called fantasys czakky.........better there than the reality:)
Ciao
-
 1
1
-
-
You say "one for the lounge room" like it's a bad thing . . .

Ha not at all Docc, I have a Ducati there.
Ciao
-
You know I grew up with these things as in I had friends that owned them so I knew what they were like. Believe me you're not missing anything.
Heavy, tall, an engine that was full of roller bearings so was really mechanically noisy in a rumbly sort of way and high frequency vibrations. Multi bearing pressed up crank like a Z900 but not as reliable. Back in the 80's parts were hard to get, god knows what they are like now.
One for the lounge room I think.
Ciao
-
Oooh, thats nasty. Glad you got away with that, Relatively. Yes I'd go with the non lubed sealed units. I'll check my Rossopuro unit rod ends.How many miles on the torque arm?
Ciao
Edit....my Rossopuro arm has sealed rod ends, ie... no lube points. and yes I've seen rod ends fail like this before through the lube point.
-
Chuck- I was told that you should also check and or re-seat the valves when replacing the rings. The increased compression with the new rings would cause the valve to seat contact area to wear faster. What are your experiences, advice?
Jerry
Well.. seeing as how you are there..
 that statement has gotten a lot of people in trouble..
  it only takes a few minutes to lap the valves in if necessary.
 Edit: I see we were typing at the same time, Phil, so let me say that if the valves aren't leaking, I wouldn't bother. You can turn them upside down, pour a little kerosene in the chamber and see if they leak.
It's interesting, things come back full circle. The original post about the valve work is probably from years ago when you used to "pull the heads" periodically to de coke the valves and pistons so when the re ring time came you would freshen up the heads as well. Those long gone days are now back again! I see a significant issue with the latest direct injection petrol engines is inlet valve carbon build up that requires mechanical cleaning methods.
The reason? no more port injection spraying fuel and its detergents onto the back of the inlet valves to keep them clean. PCV recirc air with a little oil vapour in it and no fuel wash builds up on the valves and causes poor performance and ecconomy and when it gets really bad hesitation and misfires.
To complicate matters you can't just use water injection or sea foam or the like to break it free because a lot of these engines are turbo and any broken free carbon going down the exhaust will take out the turbo turbine vanes.
Ciao
-
Chuck- I was told that you should also check and or re-seat the valves when replacing the rings. The increased compression with the new rings would cause the valve to seat contact area to wear faster. What are your experiences, advice?
Jerry
Well.. seeing as how you are there..
that statement has gotten a lot of people in trouble.. it only takes a few minutes to lap the valves in if necessary. Edit: I see we were typing at the same time, Phil, so let me say that if the valves aren't leaking, I wouldn't bother. You can turn them upside down, pour a little kerosene in the chamber and see if they leak.
Ha yes Chuck I stray off the subject some times and need to look at the post a few times and edit:)
Ciao
-
VHT Engine Case Primer and VHT Engine Case Satin Black
Thanks, will be interested to see how durable it is. I need some grey for the Daytona cases.
Ciao
It's holding up really well on my BMW transmission and driveline - and so far so good on the Scura. Note that the Engine Case paint is different than the Engine Enamel - I'm not sure how it's different, but the case paint says it's specifically for motorcycle engines.
I got a can of VHT's Engine Enamel in a color they call Nu-Cast Aluminum. I'm hoping that will be a good match for the cylinder heads.
Ah, very good thanks for the feedback.
Ciao
-
Chuck- I was told that you should also check and or re-seat the valves when replacing the rings. The increased compression with the new rings would cause the valve to seat contact area to wear faster. What are your experiences, advice?
Jerry
Well it's not a bad idea while you're there with the heads off to pull the valves and clean the carbon off the back and look at the sealing faces but thats just a "nice to do seeing I'm in here" thing. If the valves and seats are in decent shape then re lapping them wont be necessary. All you're doing is taking life out the seats and valve faces. So unless there is some sort of significant valve issue then no, the re ring wont affect the valves.
Chuck?
Ciao
-
Scud.. you can do it either way. If you want to install the cylinder over the piston, you can slowly work it down by pushing each ring together with your fingers, or use a ring compressor like this.
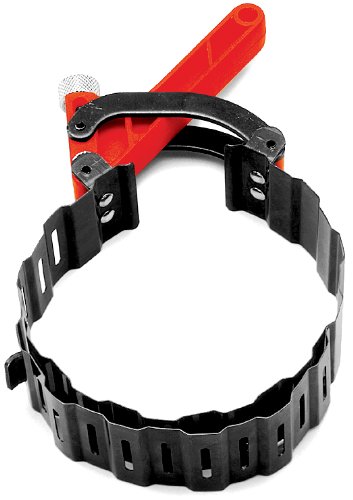
The trick with these is to lube everything up well, tighten the compressor just enough to make the rings flush with the piston, and give the cylinder a good smack with your rubber hammer. The idea is for all of the rigs to go into the cylinder with that one swat. Being hesitant about it will (probably) leave the oil ring still out of the cylinder.
The old rule used to be if the rings came out of the cylinder, to glaze break it and install new rings. Not so much any more. I wouldn't bother at that low mileage..
Hey Chuck, identical to the one I use most often. Ditto on the methodology.
Ciao
-
VHT Engine Case Primer and VHT Engine Case Satin Black
Thanks, will be interested to see how durable it is. I need some grey for the Daytona cases.
At 12,000 miles I'd do nothing but repalce the gaskets an O rings. Pull the pistons and install them in the cylinders with a piston ring compressor from the cylinder base. They are cheap and if you break a ring you'll need to buy a full set which isnt cheap. You need a ring compressor, everyone does, doesnt need to be an expensive one.
Ciao
-
1
-
-
No matter what I do with the return spring it drags on the crescent shape part of the casting. The spring doesn't match the old one.... gotta get a new one I guess.
I had this issue until I turned the spring up side down, then it didnt drag.
Ciao
-
You might not have seen this is in the thread about my cracked transmission case. Since I haven't been able to find the bell housing cradle, I am getting a few made. Contact me if you want one.
Red Frame Bellhousing Bracket. I get 5 for the price of one. Anyone that wants one, the price is $60+ shipping. It will be aluminum and will be waterjetted from the template off my bike. Since it's aluminum it will match the engine and won't need to be painted. So if you want one and to help me defer the cost, let me know. It's no deal breaker for me either way but I hope that this benefits a couple of us here as well as me.

Ciao
http://www.v11lemans.com/forums/index.php?showtopic=19814&p=218299
PM sent.
Ciao
-
Hey Scud what brand of paint are you using?
Ciao
-
When you line up the timing marks on the crank sprocket and the cam drive sprocket the drive pin for the cam and the phonic wheel should be at around 11 oclock when looking at it from the front.
The missing teeth in the phonic wheel should be at about 8 oclock.
Ciao
-
2
-
-
Thanks Phil, might look into those.
I personally like the Braking front disks I have on my 1000ss over the Galfers. Just look nicer IMHO and work just as well.
Ciao
-
Which eccentric was loose Scud, the small one? Glad you got it sorted and the info is valuable. I would still pull the cover and fit the bush though, but thats just me.
Ciao
I'd say definitely refit the bush..it's used as a dowel for location.
all you have to do is drain the oil yet again..

The clearance to the small eccentric was loose. Thinking back on it, it's probably my fault. When I initially did the shift-improvement on this bike, it was the first time I had ever opened any transmission - so it's not a surprise that I didn't get it right the first time. Then I just assumed all my problems were due to the clutch not being right.
I did't notice the lack of bushing till I went to put the cover back on the spare trans. Two bushings. Wouldn't fit. So yeah... I'll go soak both bushings in some penetrating fluid and see if I can remove one easily. Then drain the oil, remove the starter, pop the cover (yet again). I might sneak in a few more miles before I do it though, cuz I am so happy on my red bike now - like this little fellow.

Do you know why Moto Guzzi added the metal banana? What's it supposed to do? Cheese-head wants to know.

Oh OK, the banana link seems to add some support to prevent the selector wheel posts from flexing. I fitted the mod kit to mine which came with all the required parts. Still cant imagine those posts flexing though, I suspect the Guzzi flywheel man looked at the mechanism and figured it was underweigh and corrected it.)
Ciao
-
1
-
-
Love those front and rear discs Phil. Who makes them?
Galfer front and rear. Front are very common fit listed for V11 and many other bikes inc my 2003 Ducati 1000SS the rear is for some sort of scooter Galfer P/N DF005W.
Ciao
-
Thanks Phil -
First the good news. I put the spare selector on and it's flawless. Just went for great little night ride and didn't miss even one shift. This includes 3>4 under hard acceleration around 7,000 RPM. Oh happy me!
Then the "hope it doesn't bite me later" news... I didn't notice till after I had everything together that the metal bushing (in top left hole of RH selector above) stayed with the spare transmission. So it's all back together with no bushing on the top corner. I assume this is mostly to help with alignment when installing the pre-selector, but if I develop a leak there, at least I'll know what to do.
And onto the learning curve. I did compare the two unites carefully as you described, then adjusted the eccentric. It was loose beyond any feeler gauge, so I think that was the problem - and that it could have been fixed by the adjustment. But when I saw that the spare had the upgrade, I just had to install it.
Which eccentric was loose Scud, the small one? Glad you got it sorted and the info is valuable. I would still pull the cover and fit the bush though, but thats just me.
Ciao
-
1
-
-
Pulled the pre-selector off the LeMans (on right) and off the spare transmission (on left).

The LeMans preselector goes through all the gears on the bench, up and down. So I'm really sure what I would adjust.
The spare also goes through all the gears, but it feels even tighter and crisper. And the spare has a metal banana on it. I think I've seen something about this being standard on the 2004 bikes, and that there was an upgrade kit available for the earlier bikes. So... is there any reason I shouldn't just put the newer preselector in?
I would try the spare but for the purposes of comparison and information check the differences between the two. As you shift through the gear selections on the bench look at the minimum clearance on the shift pawl arm to the smaller eccentric adjuster shown ctr left on the photo. Make sure it's at least 0.030". 0.040" should be ok as well. Next select the gears one by one while using your fingers to provide a little resistance to the selector wheels and note when the selector wheel drops into the detent whether or not the input arm has contacted the large adjustable stop. You will probably find that in some gears it will hit the stop in one direction befor the selector wheel detents ( meaning the detent arm,roller and spring are actually doing the work of pulling the gear into final mesh, not your foot on the lever) and will be off the stop in the other direction when it detents and if you continue to move the shift lever input arm it will actually start to move the selector wheel back in the direction of de selecting that gear. You need to provide resitance to the selector wheels thought as you do this so they dont snap into the selected position. so you can see whats going on.
If there is a big difference between the gears selected positions after this check then adjust the main stop eccentric so that it selects the gears fully with no or minimal overtravel ( or tendency to try and de select the gear). It is very sensative and fiddly which is why you shouldnt do it on the bike. It will probably be a compromise which is why on my other trans I added some weld to the stops to eliminate the compromise.
The other reason you MAY have 3rd to 4th issues is that the selector sleeve and/or gear dogs are worn and a little rounded off from missed shifts. When these are worn and have rounded corners then they dont "grab" the next gear as effectivley early in the shift phase and its harder to get a clean shift.
Ciao
-
3
-
-
From a local company Metalgear

Very nice. What rear disc is that?
Sent from my SM-G930F using Tapatalk
I still like mine better:)
Ciao

-
3
-
-
MAW- baking the part, meaning heating it in a hot oven to dissipate all of the oil out of the part so the welder can make a good weld.
Actually, there is more to it than that. There is a thermal shock element, I think.
At any rate, baking before welding is a better than good idea.

That's somewhat true Chuck, more the mitigation of distortion though I think. The lesser the heat gradient during welding the less distortion. My friend that has vast experience welding Ducati cases showed me how after welding near the main bearing bore the hole became somewhat out of round. The solution?......a hammer and small steel drift and peen around the cases internally adjacent to the main bearing bore and weld and presto tension forces released and bearing bore round again. I have used the clean the cases and warm them up to locate cracks before. The oil will seep out of the crack and is faintly visable. Dye check is way better though. Dont know where the l/h lug crack originates but I do know it has a flat face machined on its outer face with no real radius on it. Anyone confirm if this is where it cracks or is it where the lug joins the main case?
Ciao
I am pretty clueless what you asking about. Perhaps the photo doesn't answer your question.

If you follow the face of the lug ( the machined face where the frame member clamps onto) down towards the body of the case from the rounded top there is a small step created by the process of machining the face flat. It then steps out to a wider cast step ( where your fingernail appears to be resting) and then again to the main body of the case. Is the cracs origin at the first small ( maybe 2mm wide) step caused by the machining the lug face?
Ciao
-
MAW- baking the part, meaning heating it in a hot oven to dissipate all of the oil out of the part so the welder can make a good weld.
Actually, there is more to it than that. There is a thermal shock element, I think.
At any rate, baking before welding is a better than good idea.
That's somewhat true Chuck, more the mitigation of distortion though I think. The lesser the heat gradient during welding the less distortion. My friend that has vast experience welding Ducati cases showed me how after welding near the main bearing bore the hole became somewhat out of round. The solution?......a hammer and small steel drift and peen around the cases internally adjacent to the main bearing bore and weld and presto tension forces released and bearing bore round again. I have used the clean the cases and warm them up to locate cracks before. The oil will seep out of the crack and is faintly visable. Dye check is way better though. Dont know where the l/h lug crack originates but I do know it has a flat face machined on its outer face with no real radius on it. Anyone confirm if this is where it cracks or is it where the lug joins the main case?
Ciao
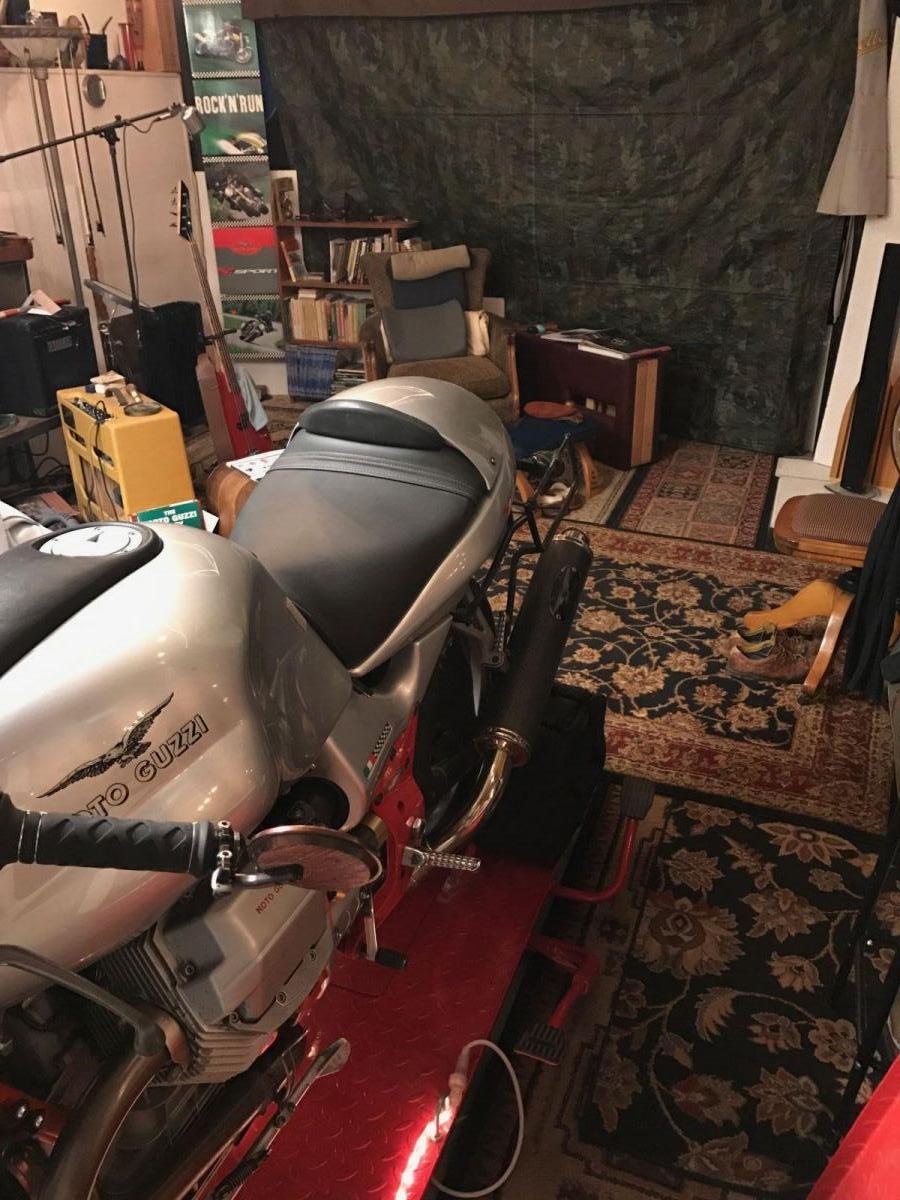
My Long Time Dream Machine, the Jota
in Special place for banter and conversation
Posted
Except that I can't get it out of the house now. I've got a track day coming up soon and I thought, I'll take the 1198 out. Then I realised with the temporary bathroom I've set up in the laundry while I do my bathroom rebuild I cant get it out of the house....Doh.
Half considered taking out the V11 but I'm a little short on "condition" these days and It would win a wrestling match with me around Phillip Island hand down. Looks like the 1000ss then.
Ciao