-
Posts
5,219 -
Joined
-
Last visited
-
Days Won
268
Everything posted by Lucky Phil
-
From the album: lucky phils V11
-
You actually don’t want negative pressure because of that. Ideally you shoot for neutral pressure. Sent from my iPhone using Tapatalk Actually, there are reasons you want negative pressure in the crank cases. Not a lot, but negative pressure none the less. There is actual horsepower to be had there. But that is not very feasible with a V11, and I am not sure it is worth the effort. On a big V8 it can be a fairly significant amount of horsepower. But on a V11 I doubt you would be able to feel the difference. Running slightly negative pressure in the crankcases improves ring sealing and reduces pumping losses. Ducati think its worth the effort on the Panagale engine. It employs a gear driven vacuum pump to pull the crankcase pressure down which helps with oil leaks and pumping losses. Ciao
-
Sounds more like fuel to me Chuck. I had a Ducati do this to me once due to a lean chip in the ecu. I had modified the engine for racing and installed a different chip that was too lean. It was all good when the engine was cold and on the enrichening map and idle and reving in neutral was fine when warm but as soon as you opened the throttle under load when riding and it called for genuine fuel flow it stopped dead as well. No missing or hicupping, just stopped. I'd re check all the fuel stuff you pulled and also whether any of the hoses has collapsed internally. Have a look at the fuel pressure when it happens. I only mention it because it feels for the world like ignition when they stop dead like this but it can still be fuel and thats what you've had apart. Ciao
-
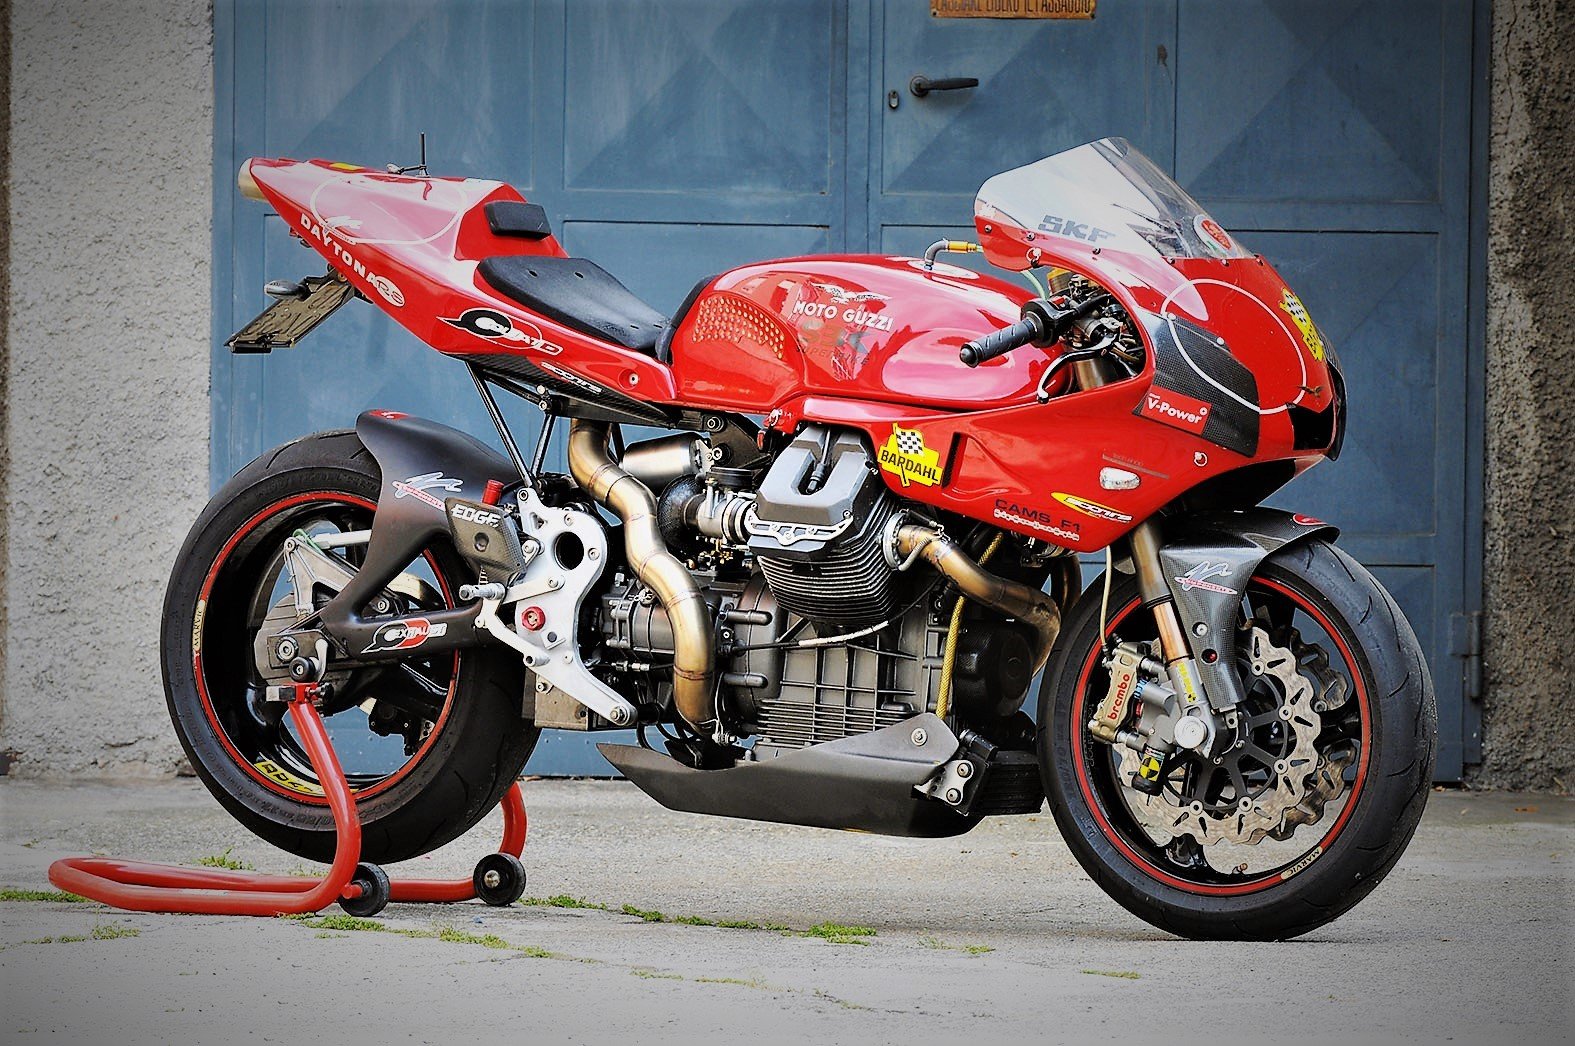
Its a drain back hose from the frame spine. The crankcase breathes into the spine and from there into the airbox. Any oil that accumulates in the spine can drain back into the cases. No check valve involved. All V11 versions are the same. From the photos of your bike I'm not sure if the catch tank is large enough (if thats it between the carb inlet trumpets) although a Guzzi doesnt have a crankcase breather read valve assembly like a Ducati which helps create a depression in the cases during running. Might be worth considering. If the catch tank has a lot of oil in it then you will probably need a drain back tube. On My TT2 Ducati ( 1980's ópen bell mouth 600 Vtwin) the catch tank vent from the cases also allowed drain back of oil into the cases due to its location on the tank. On big twin you can never have a too large a catch tank. I would also dump the breather filter thing and run a pipe to the rear of the bike uphill with a simple rubber flapper valve on the end. Ciao
-
I've not actually been to Dayton but I have seen a lot of it on TV and I've had friends that have been there as tuners. I have been a mechanic/pitcrew at the IOM a few times though and I dont see Daytona as a great yardstick to the IOM although its probably the best that can be done in the circumstances. Just dont put too much emphasis on the Daytona banking being some sort of shakedown for the IOM or you will be in for a shock. The IOM is totally unique in its demands on the machinery both in set-up and endurance. Sulby straight for example is 3 miles WOT but what kills the engine is the bumps and the loading/unloading of the engine as the tyre breaks traction skipping off the bumps. You get issues at the IOM that you have never had in years of racing at short circuits. Might be worth checking that the oil on boot issue you had at Daytona wasnt related to crankcase breathing not coping with the continuious hight speed because at the IOM it will be a lot worse if that is the case. Ciao
-
Thats all you need on there docc. Also a light application of moly spray instead of the grease works fine. I apply it by spraying it onto a plastic lid or some other clean surface and applying with a 1/2" stiff short bristle paint brush in locations where I dont want any overspray. Or sprayed directly out of the can when it doesnt matter about the over spray. Let the solvents flash off for a nice dry, even thin coat and assemble. Works well on clutch splines. Stays where its supposed to and doesnt attract cluch plate dust. Ciao
-
I dont really like the idea of removing rubbers because it means that the torque is now transmitted through only half the metal drive blades. Ciao
-
Oh good. My wife has changed me after a trip to New York. We walked over the Brooklyn Bridge and got to within about 100 yards of the other side and that was close enough for me. It wasnt close enough for her though and we walked the extra 100. Now I cant finish anything just short of a round number either. Ciao
-
You mean your're going to stop before 1,000,000 cycles Chuck? Say it isnt so. Ciao
-
Mine are stock and after 18 years and 42,000 klms look fine also as do the drive splines on the wheel and the drive shaft. So whats the advantage? Ciao
-
Yes my question also. Manufacturers generally spend a lot of time and money on finding the correct shore rating for things like cush drive rubbers and suspension bushes, I say generally. What evidence does MartyNZ have that his cush drive mod is worth doing and Guzzi got the cush rubber hardness rating wrong? Ciao
-
There seems to be an ëngineering" issue here. When you apply a semi solid or solid lube for that matter to a spline any more than a thin film is not only a waste of lube but also counter productive. All that excess that gets pushed off when the two parts come together is never going to somehow make its way back into the splined area. Its not ever going to be a reservior of lubricant. What its going to be is a reservior of trapped dirt or excess that gets flung off and makes a mess. More isnt better. Same can go for solid lubricants such as spray on moly lube. Just a light coat required any more is counter productive. As an example, we lubricate the fan blade dovetail roots on high bypass gas turbines with spray moly. Clean them off and apply sparingly re assemble and good for another 5000hrs. Or you can clean them off apply moly lube liberally and have engine fan vibration issues. Which means pulling the blades again cleaning and doing it sparingly. The excess lube in the dovetails means the blades are to tight and cant move around as required hence the vibes. Not directly applicable to the V11 of course but an example of more isnt better. When you think about it, this philosophy also applies to MANY thing in engineering and life. Ciao
-
Thanks Tim, payment sent for 3 springs. Ciao
-
Are you saying your Roper plate has only 1 gasket fitted? Ciao
-
And stop leak wont help you become one. Dont even let the thought of using stop leak cross your mind. Font timing cover on a big block isnt that technical even for a hobbie mechanic. Besides you have all of us to help:) Drop the oil into a clean container and reuse it, pull and replace the front timing cover and use one of the later metal gaskets and it'll never leak again and while you have the tools there pull the whole bottom off the engine and change all the gaskets on the Roper plate and sump. Lets go!! Ciao
-
Yeah, that works great, and is my favorite. Most people don't have ready access to it, though. Like Phil says.. it can be subtle. I had a persistent mist from Rosie (Rosso Corsa) for a good while. Changed gaskets, lapped the valve cover flat, etc. Finally, using developer and patience, found a literally pin hole in the valve cover casting. It wouldn't leak until the engine was hot enough to thin the oil. Yes Chuck thats a hard one. I once had an oil leak from a Ducati 750 belt drive tacho drive that persisted. Turned out to be a blind porosity hole inside the bored hole in the head casting right where the oring sealed the tacho drive gearbox. If the hole had been 2mm deeper or shallower it wouldnt have been an issue. Filled it with some devcon aluminium paste and all good. Ciao
-
Locating oil weaps of this magnitude is a skill and requires a detailed eye and patience esp on the front of the engine where oily road grime can make it harder. Docc was on the right track with the clean it perfectly and dry it off and apply powder. I personally use the developer froma dye penetrant check kit I have but if you have a strong light, good eyesight and sometimes a mag glass you can do it without. The other tool that is usefull is absorbent paper or regular tissues. After a short ride inspect the joints with a good light and press the absorbant paper on the area you think is suspect. Any slight oil weep will be immediatly visable on the tissue paper. Of course the oil will whick along the joint so sometimes the short ride is better because you can get a better indication of the location before the whicking gets too far. Over the years I have troubleshot most types of oil leaks and never had one that stumped me. Had a few that were tough but always found them. The other tip is its not always the most obvious location. My 1198 from new had oil around the base gasket on the rear cylinder, so the obvious thought is a leaking base gasket, right? No it was a leaking rear cylinder rocker cover. The oil was tracking down the side of the cylinder behind the belt cover and ending up at the crankcases then working its way around to the back of the cylinder crankcase joint. The rear rocker cover had omitted on factory assembly the small amount of silicon sealer required around the sharp transitions on the rubber gasket. The oil travelling down the cylinder behind the belt cover was not at all obvious as the oil spreads and becomes a film which leads me to the other essential tool. A clean dry finger. A clean dry finger pressed agains a weeping joint then looked at with a good light is a very good tool, believe it or not. The oil cooler lines may well be quite tight, often tight enough to unscrew the nipple out of the cases if you dont hold it seperately. Good luck. Ciao
-
Red or for that matter any colour garters I'm all for docc, as long as they are around a nice lady leg. Prolly in trouble now from the "people that appose men that like women with garters on" movement. Ciao
-
Nice video but a lot of work to end up with a horrid set of red and gold rocker covers. You can't by style and taste I guess. Seems to have lowered the bar from Chucks previous benchmark red gaitors Ciao
-
FWIW.......I use Mobil1 0W-40 full synthetic and dont remove the gasket just lube the face that goes against the crankcase. I also precharge the filter with oil to satisfy my OCD. My bike doesnt use any oil or create any oil blowby into the air filter box. I would remove the sticker from the filter if it were me but it probably wont matter. Ciao
-
I'm not really interested in motorcycles as "ART". If it cant realistically fulfill its objective with excellence and focus on the road or track ( depending on what its designed for) then its like building an aeroplane that looks beautiful but doesnt fly. Pointless. Ciao Examples of bikes that fulfill the criterior....MV Agusta 1000 2003, Ducati 750 ss 1974, Guzzi MK1 lemans, Ducati Panagale, Britten V1000, Factory Harley XR750 flattracker, Jawa Speedway bikes, to name but a few.
-
No docc, been pulling breakers on jet aircraft for 40 years as part of safety isolation when working on systems. The manual tells me to do that, totally fine. Ciao
-
Whats this one docc? MV? Ciao
-
Thats a G45 twin I think docc. Ciao


